Last updated November 18, 2026







Free written scope consultation - allowances, timeline, and change-order rules on paper before a single trade is scheduled
Bathroom Remodeling Troubleshooting: Common Problems and How to Fix Them
A grout crack that appears six months after your bathroom remodel usually isn’t a grout problem. In our experience, it’s evidence of a substrate that wasn’t waterproofed correctly on day one. The crack is just the symptom; the cause is buried under the tile. The same pattern repeats across nearly every post-remodel complaint: peeling paint that points to trapped moisture, low water pressure that traces back to a half-closed valve, a slow drain caused by thinset crumbs from the install. This guide walks through how to read those symptoms, how to catch failures mid-job before they’re covered up, and how to hold a contractor accountable in Whitney when something goes wrong.
Quick Answer
Most bathroom remodel problems you notice after the job is done come from three root causes: inadequate waterproofing behind tile, movement in the substrate, and construction debris left in drains or supply lines. Fixes range from a simple drain clearing to a full re-tile of the wet area, and the difference between cheap and expensive depends on whether the failure was cosmetic or structural. Documenting every problem in writing triggers your warranty faster than any phone call.
Styles & brands we work with
- Kitchen remodeling
- Bathroom remodeling
- Home additions & ADU
- Roofing
- Windows & doors
- Driveway & pavers
- Fence
Table of Contents
- Surface Symptoms vs. Root Causes: How to Tell Them Apart
- What a Proper Tile Waterproofing Inspection Looks Like Mid-Job
- How to Diagnose a Slow Drain After a Remodel
- The Caulk-Instead-of-Grout Problem at Floor and Wall Transitions
- Low Water Pressure After a Remodel: Where to Look First
- Peeling Paint and Bubbling Drywall: What Moisture Is Telling You
- How to Document Problems and Trigger Your Warranty
- What to Do If Your Contractor Goes Dark
Surface Symptoms vs. Root Causes: How to Tell Them Apart
The single most useful troubleshooting skill in bathroom remodeling is telling a symptom apart from a cause. Most homeowners see a symptom and ask for a cosmetic fix. A trained eye sees the same thing and knows what’s underneath. Getting this wrong is how a $200 repair becomes a $6,000 tear-out.
Here’s how to read the most common clues:
- Cracking grout usually means the substrate flexed, the setting bed was too thin, or the tile wasn’t back-buttered properly. The grout is the messenger, not the problem.
- Peeling paint or bubbling drywall means moisture is escaping from somewhere it shouldn’t – usually a failed shower pan liner, a missing vapor barrier, or a plumbing leak inside the wall.
- Low water pressure at one fixture almost never means the supply is undersized. It’s usually a clogged aerator, a partially closed angle stop, or a flow restrictor left in the new showerhead.
- A slow drain right after a remodel is almost always construction debris – thinset, grout, or drywall dust – not a slope problem. That distinction decides whether you need a plumber or a few minutes with a snake.
- Loose or hollow-sounding tile means the thinset didn’t bond, and it will eventually pop. This one requires a re-set, no exceptions.
In Whitney, the dry desert climate hides many of these symptoms longer than you’d expect. A wet towel or a leaking shower pan can sit under tile for months because ambient humidity is so low that the surrounding drywall doesn’t swell the way it would in a wetter climate. That’s why we always tell Whitney homeowners to inspect the room after heavy shower use with a flashlight and touch the baseboard on the wall behind the shower. If it feels soft or spongy, the failure started long before you noticed.
If you’re still in the planning stage for your bathroom and want to scope it properly from the start, our Bathroom Remodeling in Whitney page lays out what a full gut versus a cosmetic refresh actually includes.
What a Proper Tile Waterproofing Inspection Looks Like Mid-Job
Ninety percent of tile failures in bathrooms trace back to waterproofing that was skipped, cut short, or done with the wrong product. The problem is that once the tile is set, you can’t see any of it. That’s why the most valuable inspection of your entire remodel happens mid-job, before tile goes up. Here’s exactly what to ask to see in a Whitney bathroom when the walls are open.
- Ask what waterproofing membrane is being used. It should be a liquid-applied membrane (like RedGard or Hydro Ban) or a bonded sheet membrane (like Schluter Kerdi or Wedi board). Cement board alone is not waterproof – it’s water-resistant at best, and that distinction matters.
- Look at the seams and corners. Every inside corner of a shower should be reinforced with a waterproofing band or mesh embedded in the membrane. Naked corners over cement board are a guaranteed future failure point.
- Check the pan liner before the mortar bed goes over it. It should slope toward the drain, be clamped to the drain’s lower flange, and turn up the wall at least six inches behind the backer board.
- Confirm a flood test was done on the shower pan. A 24-hour flood test is standard practice for a reason. If your installer skipped it, ask why.
- See the screw pattern on the backer board. Screws should be driven to the correct depth (flush, not through the paper facing) and spaced per the manufacturer’s spec – usually 8 inches on center.
We walk every homeowner through these checkpoints before we close the walls. It isn’t about proving we did the work; it’s about the homeowner knowing what to look for. In our experience, that single education step prevents most of the disputes that surface months later. If you want the full walkthrough of what a squared-away job looks like from demolition to final inspection, our General Contractor in Whitney page covers the sequencing we hold ourselves to on every project.
How to Diagnose a Slow Drain After a Remodel
A drain that ran fine before the remodel and slow-drains afterward is one of the most common post-job complaints we hear about. The good news: it’s also one of the most fixable. The question is whether you’re dealing with debris or a slope problem, and the two are completely different repairs.
Construction debris is the answer about 80% of the time. Thinset powder, grout dust, drywall mud, and small chips of tile work their way into the drain during the job and set up in the trap or the first few feet of drain arm. The tip-off is timing: the drain slows immediately or within the first week, not months later.
Improper drain slope is the answer when the drain was fine for weeks or months and then starts backing up progressively. That pattern usually means standing water is pooling somewhere in the trap arm because the slope is under the required quarter-inch-per-foot minimum, or the trap was set deeper than the line can carry.
Here’s the plain diagnostic order:
- Remove the drain stopper and shine a light down the drain. If you see gray film, crumbly bits, or a gummy residue, it’s debris.
- Run a hand snake 12-18 inches down. If it retrieves fine gray or white grit, you’ve got construction material.
- If the snake passes easily and the drain still runs slow, the stoppage is deeper – and you should stop and call a licensed plumber.
- If the drain ran fine for weeks before slowing, and snaking doesn’t fix it, suspect slope. A plumber with a camera will confirm in about 20 minutes.
A simple debris clog is a 15-minute fix. A slope problem requires opening the floor, which is a general contractor conversation, not a plumbing one. In Whitney homes built before 1998 or so, we find cast iron arms with significant scale buildup that slow drains independent of the remodel – worth knowing if you’re in an older neighborhood and the problem seems to predate the work.
The Caulk-Instead-of-Grout Problem at Floor and Wall Transitions
This one is a real pet peeve of ours because the substitution is so common and so easy to get right. You’ll often see silicone caulk at the transition where the tile wall meets the tile floor, and at every inside corner of a shower. Sometimes that’s correct. Often it’s a shortcut that fails in 12-24 months.
Here’s the trade rule: grout at flat transitions, caulk only where two planes change direction AND meet a moving component. At the floor-wall junction inside a shower, that’s a wet area that moves seasonally – it should be 100% silicone (not siliconized acrylic), and it should be installed over a properly packed joint, not over a gap that just got filled with caulk as a cover-up.
Why do some contractors caulk every joint instead of grouting? Because caulk covers imperfections, hides a bad tile cut at the floor line, and doesn’t require waiting for the grout to cure. It looks fine on day one. Eighteen months later, a Whitney homeowner is looking at a black mold line behind the caulk bead and wondering what happened.
What a correct detail looks like:
- Floor-to-wall inside corners: silicone caulk over backer rod, not grout and not bare caulk.
- Wall-to-ceiling: grout if both surfaces are tile, silicone if you’re transitioning to painted drywall.
- Shower niche shelves and seat edges: 100% silicone, because that’s a change of plane in a wet zone.
- Everywhere else on a flat surface: grout, full stop.
If you’re seeing chronic caulk failures at the same joint every year, it’s not a caulk problem. Something underneath is moving, and a bead of silicone is not a structural fix.
Low Water Pressure After a Remodel: Where to Look First
Low pressure at the showerhead after a remodel is almost never a supply problem in a single-family Whitney home. Nine times out of ten, it’s one of four things you can check yourself in five minutes. Here’s the order to check them.
- The flow restrictor. New showerheads ship with a flow restrictor rated to 2.0 or 1.5 gallons per minute. If the installer left it in but you want more volume, that’s the first thing to remove (it’s a five-minute swap, not a plumbing call).
- The showerhead aerator or screen. Sediment and pipe dope settle in the screen. Unscrew, rinse, reinstall.
- The angle stop under the sink or behind the toilet. These get turned partially closed during the install and never opened fully. Quarter-turn valve should be fully parallel to the pipe.
- The cartridge. A new Moen or Kohler valve with a cartridge that wasn’t seated fully will restrict flow at the pressure-balancing spool.
If all four check out and pressure is still low, you’re likely looking at a supply line that got kinked during rough-in, or a PEX fitting that was over-crimped and is restricting flow. That’s a return-to-the-wall situation. On our projects we spec Kohler and Moen valves specifically because their cartridges are documented and the flow-restrictor specs are on the box – which means we can verify against a drawing instead of guessing. That said, we may also specify a James Hardie backer board on the exterior wall side of wet zones to hold moisture out of the framing in Whitney’s desert heat cycling. Small choice, real consequence.
Peeling Paint and Bubbling Drywall: What Moisture Is Telling You
Peeling paint above a tile wainscot, or drywall that feels soft behind a toilet, is a moisture symptom. Not a paint problem. The paint is doing exactly what it should – it’s failing where the substrate underneath has started to break down. Repainting without finding the moisture source guarantees you’ll be doing it again in 18 months.
The three common sources in a Whitney bathroom:
- Failed shower pan liner or a missing one. Water seeps under tile, wicks into the framing, and shows up as paint failure on the back side of the shower wall – often the drywall of an adjacent room or closet.
- Missing exhaust fan or undersized fan. In Whitney’s dry climate, people assume bathroom humidity isn’t a problem. It is. A 10-minute shower puts a real load of moisture into the room, and a bathroom without a properly sized exhaust fan (measured in CFM against bathroom cubic feet) pushes that moisture into the walls instead of the outdoors.
- Toilet flange or supply line drips. Slow, chronic drips from a failing supply or a poorly set wax ring will show up as paint bubbling at the base of the wall behind the toilet.
Test with your hand, not your eyes: press gently against the ceiling or drywall around the bubbled area. Soft, spongy, or cool-to-the-touch surfaces mean active moisture. Bone dry and crumbly means historical damage that’s already dried. That single test changes what the proper repair is.
If you have peeling paint on the exterior wall of your house near the bathroom, our Bradford Remodeling Co Whitney home page links to the siding and cladding work we handle alongside interior remodels.
How to Document Problems and Trigger Your Warranty
If you’re within a warranty period – and every Bradford project is covered by our 365-Day Done Right Promise, which guarantees a free return visit if the repair or remodel fails within a full year of completion – the way you document the problem determines how fast it gets fixed. Verbal complaints get forgotten. Written notice with photos gets resolved.
Here’s the plain process we recommend to every Whitney homeowner, regardless of who did the work:
- Photograph everything on day one of noticing. Wide shot, close-up, and a shot with a tape measure or coin in frame for scale. Take photos every three days until resolution so you have a real progression.
- Write a one-page notice. Date, description of the problem, date you first noticed it, what you want done about it, and a reasonable response deadline (7 days is standard). Send it in a channel with a timestamp – email with delivery receipt, or certified mail.
- Reference the warranty language by name. If your contract explicitly states a workmanship warranty period, quote it back. That’s what triggers the obligation.
- Keep a written log of every phone call. Date, time, who you spoke with, and what they said. If the contractor doesn’t respond, this log matters.
- Don’t stop making payments if payments are still on the table. Withholding payment without documented notice can complicate your legal position. Pay per schedule, but document the issue in parallel.
What the 365-Day Done Right Promise covers: any failure of the work itself within 12 months of completion, corrected with a free return visit. What it doesn’t cover: damage from an unrelated plumbing leak, homeowner-installed fixtures, or wear items like caulk joints that were installed correctly and simply reached the end of their service life. That distinction is written on every Bradford project close-out.
What to Do If Your Contractor Goes Dark
It’s the worst-case scenario, and it happens. The contractor stops returning calls, then stops answering, and the last invoice is unpaid or the job is half-finished. What you do in the first two weeks matters more than what you do in month three.
Here’s the sequence that gives you the most leverage:
- Send a formal notice of default in writing. Cite the specific line items that weren’t completed or that failed, reference the warranty if applicable, and give a firm 10-day cure deadline. Send by certified mail AND email.
- Stop all further payments in writing. A short email stating “payments are suspended pending cure of the items in my notice of [date]” protects your position.
- Photograph and inventory the site. What’s finished, what’s open, what materials are on site. This becomes your baseline for any successor contractor and for a small-claims or licensing-board filing.
- File a complaint with the state contractor licensing board. In Nevada, that’s the Nevada State Contractors Board. The complaint record follows the license, and the board can require the original contractor to respond.
- Get a written scope and price from a replacement contractor before you release anyone from their obligations. The written price protects you against “we found more problems than we thought” renegotiation on the second attempt.
This is the exact scenario that drove Bradford’s entire operating model: a written price before any work begins, background-checked uniformed technicians on every job, and a live person answering the phone 24 hours a day. The discipline isn’t a marketing story. It’s the answer to the problem in front of you right now.
If your remodel is happening alongside a larger kitchen refresh, our Kitchen Remodeling in Whitney page shows how we sequence simultaneous work to avoid the exact gaps that lead to contractor-dark situations.
Common Mistakes to Avoid
- Patching the symptom instead of diagnosing the cause. Regrouting a crack without checking the substrate guarantees the crack comes back – usually worse. Find the movement first, then fix the grout.
- Approving the tile close without seeing the waterproofing. Once the tile is set, the membrane inspection window is gone forever. In Whitney, this matters most on exterior-wall bathrooms where the desert heat cycle adds expansion movement regardless of how well the water side is sealed.
- Accepting caulk at joints that should be grouted. A caulk-only install at the floor-wall transition is a shortcut that looks fine for a year and then fails visibly. Ask why each joint is caulked instead of grouted.
- Skipping the shower pan flood test. The one check that catches the most expensive failures – a shower pan leak that soaks the framing and subfloor – is also the one most likely to be skipped. See it done.
- Relying on verbal warranty promises. “We’ll take care of it” isn’t warranty language. Written scope, written guarantee period, named covered items – that’s the standard. Bradford puts all three into the project file before work starts.
- Hiring the lowest bid without a written scope. Two bids that look $3,000 apart are usually not the same scope. Waterproofing products, substrate, valve brands, and exhaust sizing are where the difference hides. Compare line items, not totals.
- Ignoring the exhaust fan CFM math. In Whitney, low-humidity days can hide an undersized fan for months, then the monsoon season arrives and the drywall behind the shower starts bubbling. Size the fan to the room, not to the old unit.
See the difference
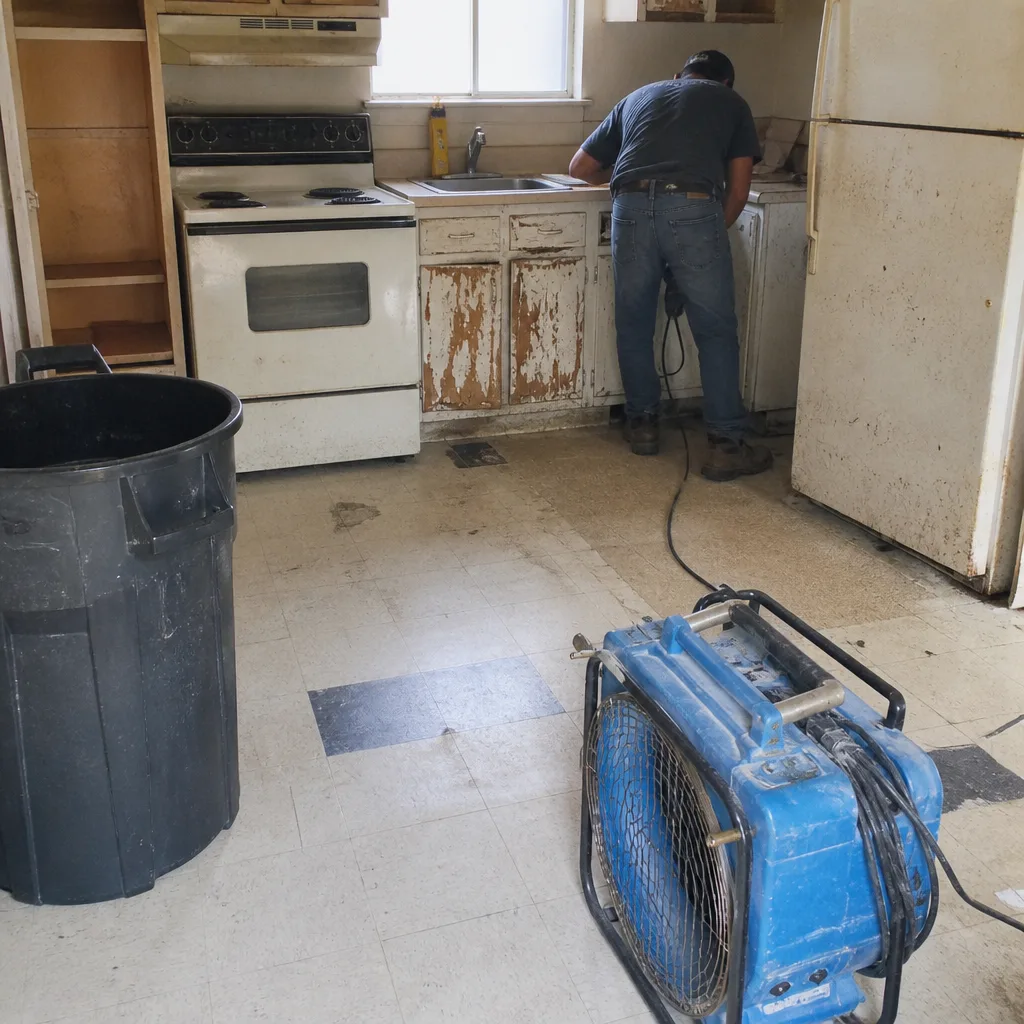 Before
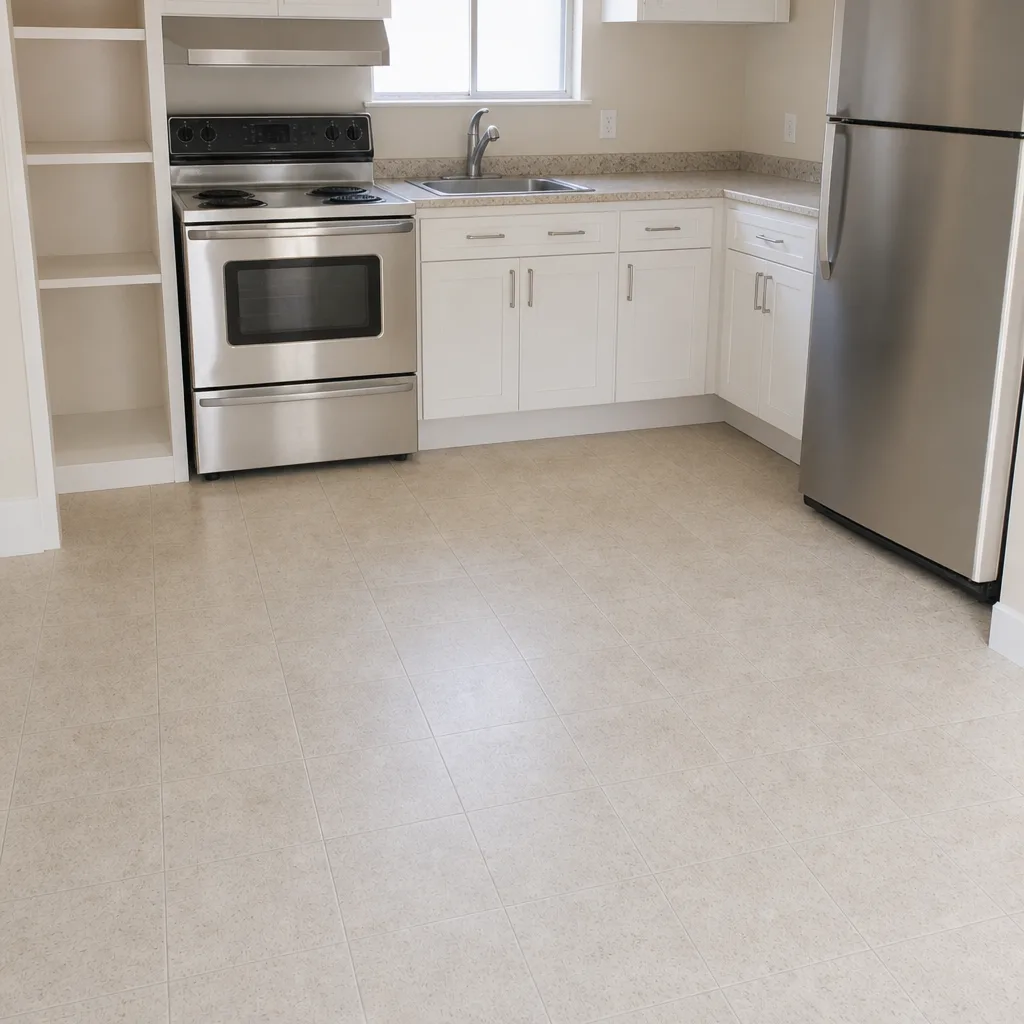 After
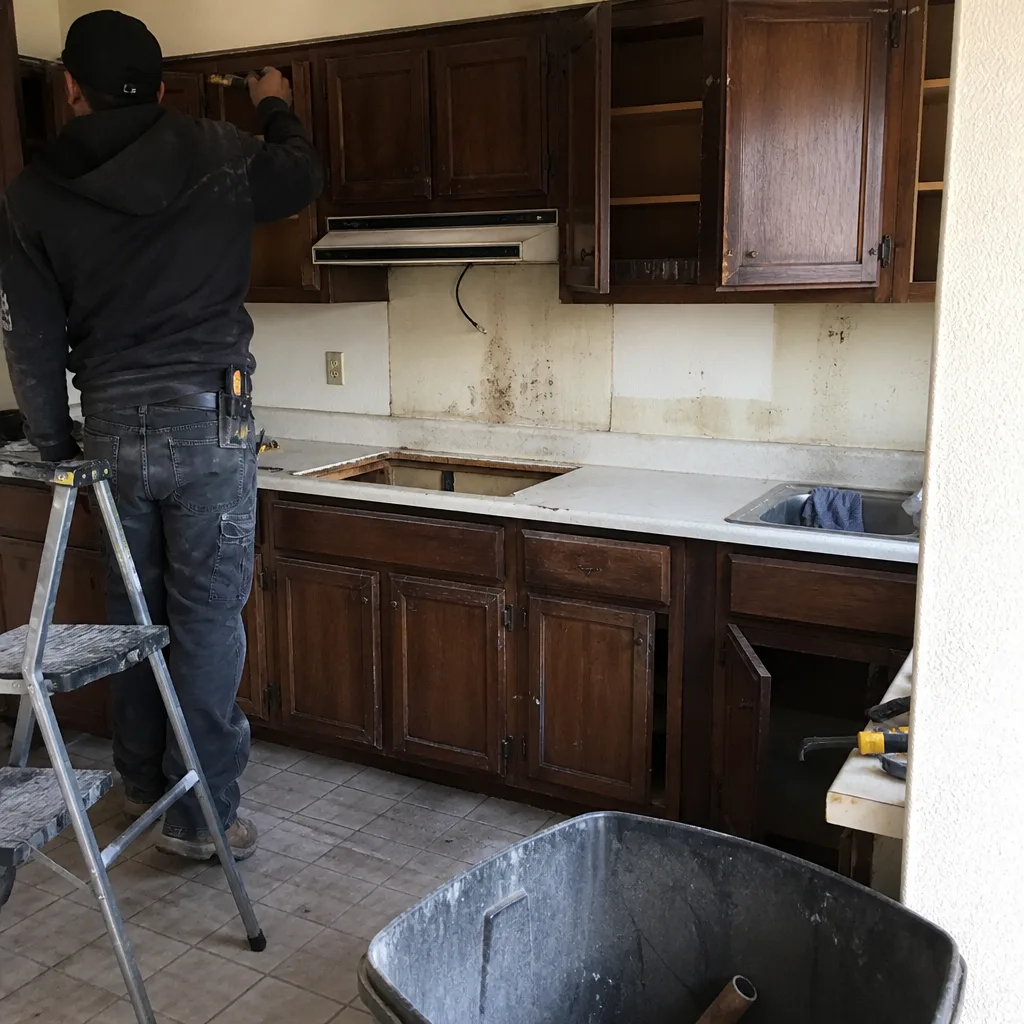 Before
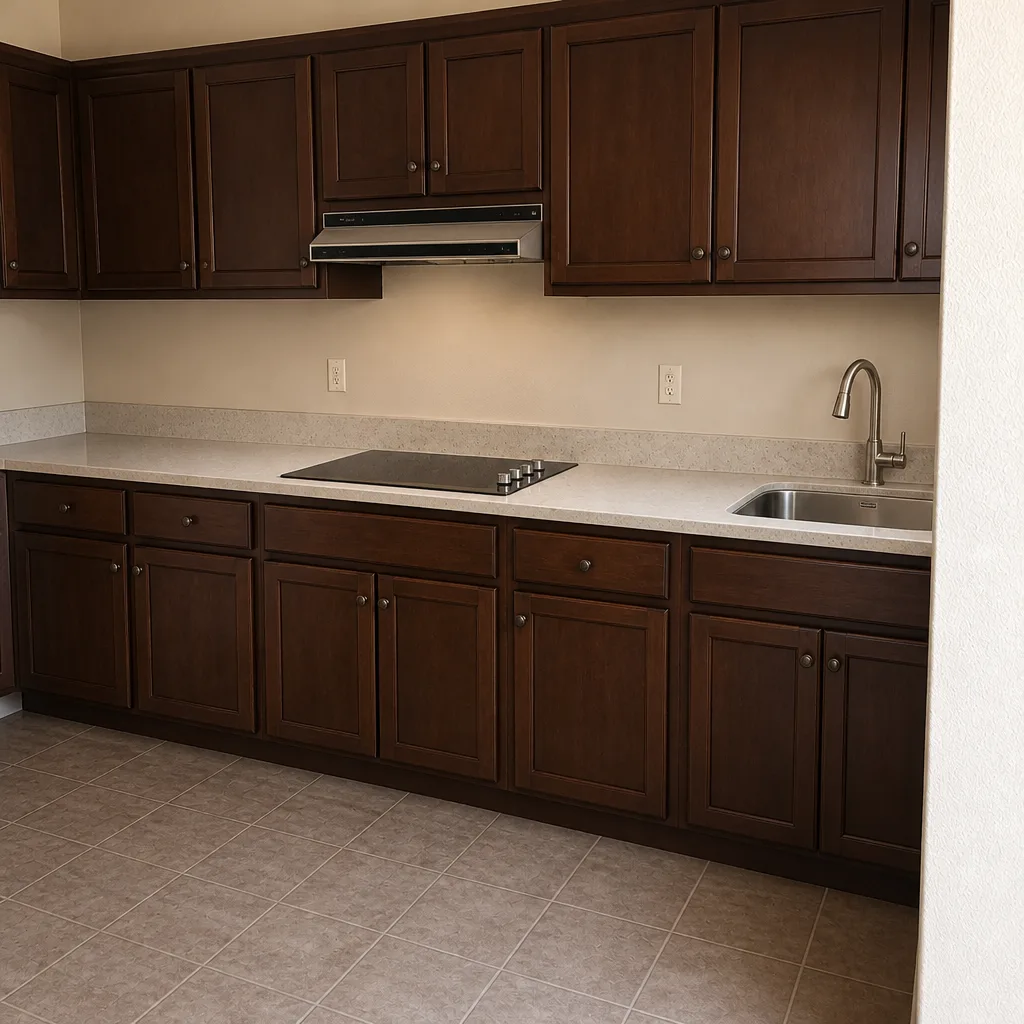 After
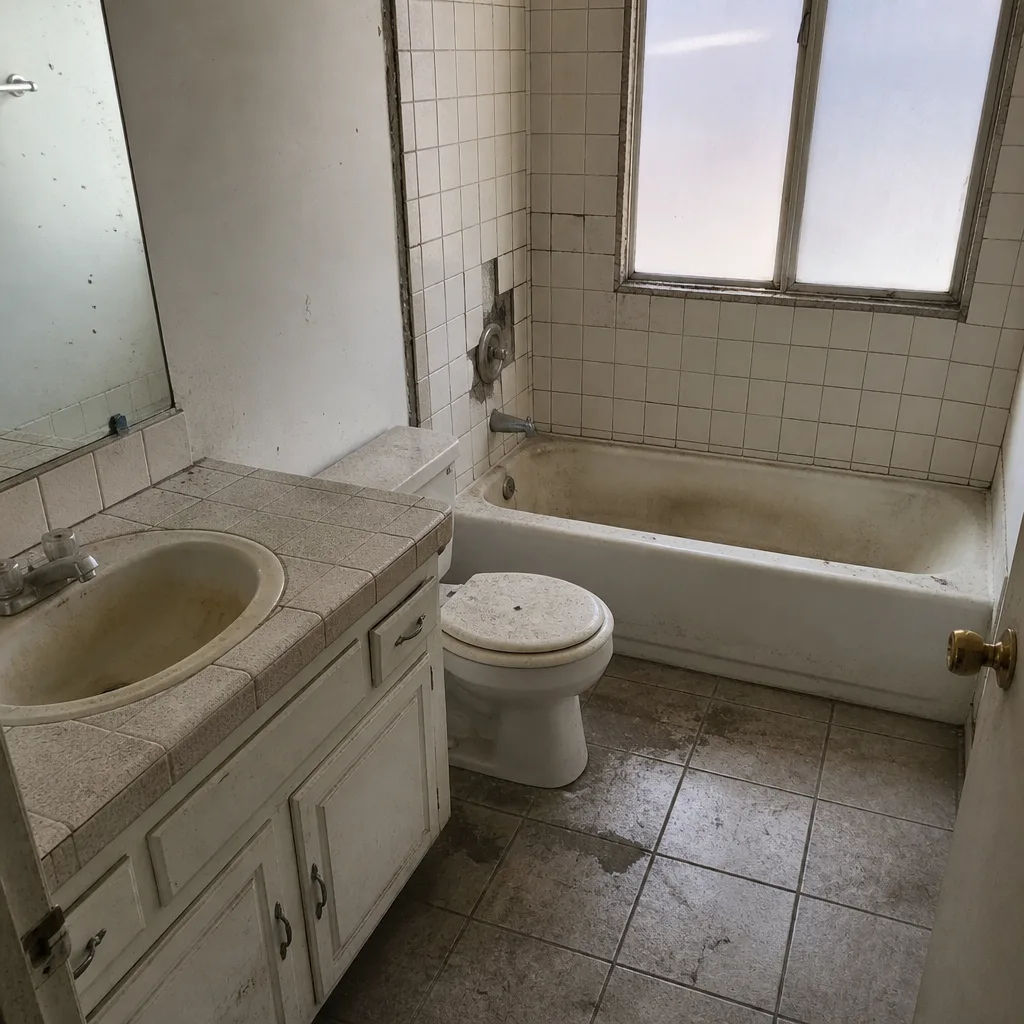 Before
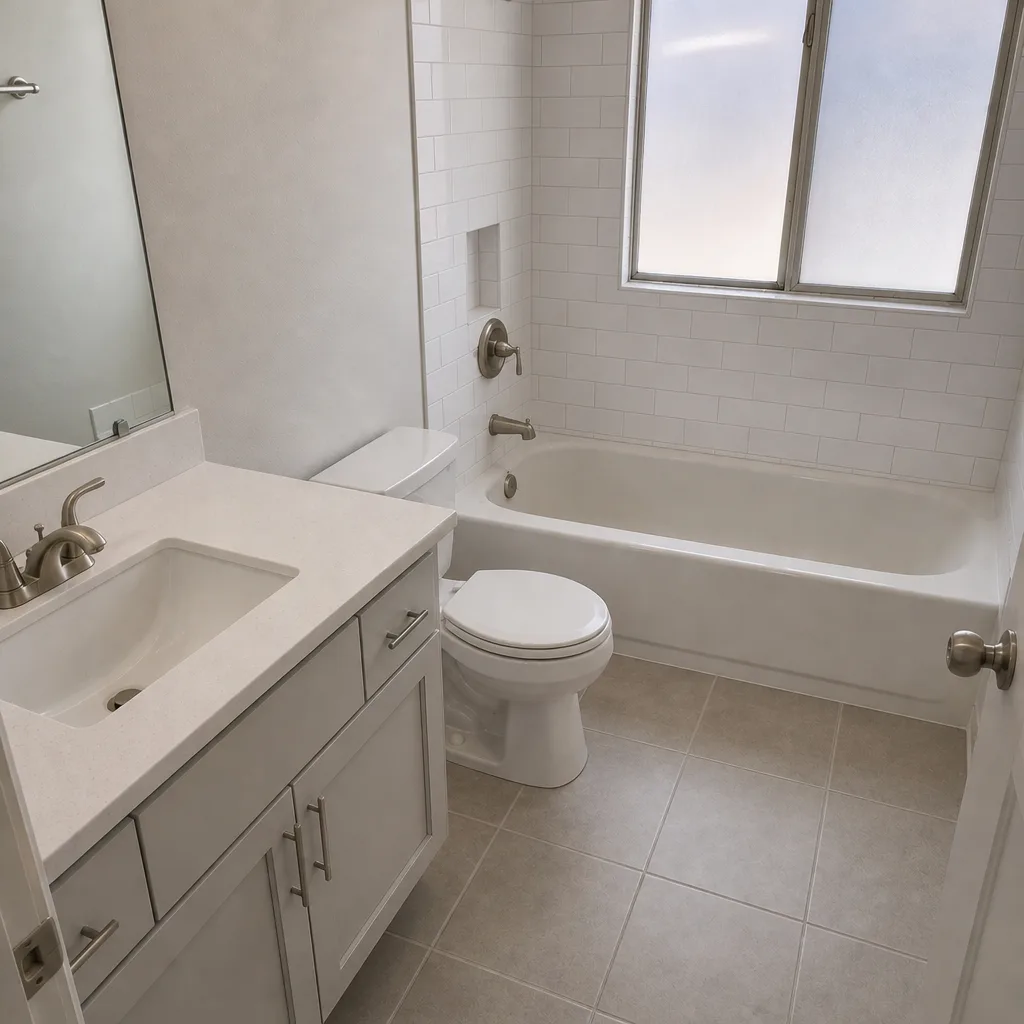 After
When to Call a Professional
Some problems are homeowner-fixable, and some are not. Call a professional immediately if you’re seeing soft or spongy drywall around the shower, water stains on the ceiling of the room below the bathroom, tile that sounds hollow across more than a few square feet, or a drain that backs up within days of a remodel. Those four point to substrate or plumbing failures that worsen with every shower. Also call a licensed plumber – not a handyman – for any suspected gas line or main water line work, and never attempt to open a wet wall yourself if you aren’t sure what’s behind it. Bradford Remodeling Co Whitney offers free estimates in Whitney – call (833) 620-4908. We’ll bring a written diagnostic and a line-item scope, not a sales pitch.
Frequently Asked Questions
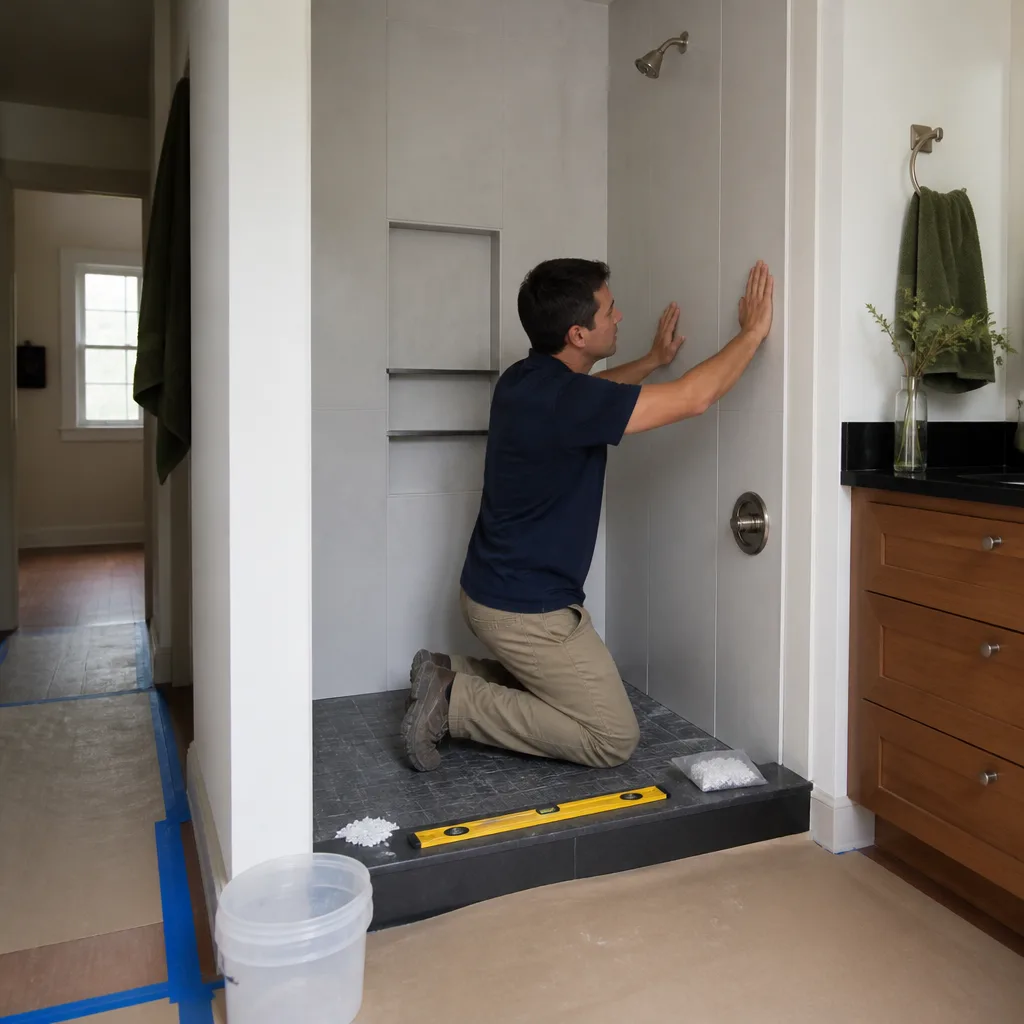
Cracking grout six months after a remodel is almost always a sign of movement beneath the tile, not a grout defect. The likely causes are substrate flex, insufficient thinset coverage, or a setting bed that wasn’t fully cured before grouting. The fix depends on how widespread the cracking is: isolated cracks at corners often just need a flexible caulk-and-regrout, while cracks across the field mean the tile will eventually come loose and needs re-setting. Call (833) 620-4908 for a free estimate and we’ll tell you which situation you have before quoting anything.
You can’t tell once tile is installed, which is why the inspection has to happen before tile is set. Ask to see the waterproofing membrane, confirm seams are reinforced with a bonded band, verify the pan liner is sloped to the drain and turned up the wall at least six inches, and confirm a 24-hour flood test was done. If your contractor can’t show you these, ask why in writing. In our Whitney projects we document all five checkpoints with photos as part of the job file.
Start by removing the drain stopper and shining a light down. If you see gray or white grit, construction debris is the likely cause and a hand snake will usually clear it in 15 minutes. If the drain ran fine for weeks or months before slowing, suspect an improper slope and stop snaking – call a licensed plumber for a camera inspection. A debris clog is a minor fix; a slope problem means opening the floor. Call (833) 620-4908 for a free estimate if you’re not sure which one you have.
It shouldn’t. A well-scoped remodel is priced against a documented written scope before any work begins, and the price doesn’t move at the door. Where prices do move is when the scope is vague – no named waterproofing product, no specified valve brand, no stated exhaust fan size. Bradford puts every line item in writing before the first tool comes out, and the number stays put unless the homeowner changes the scope in writing. Call (833) 620-4908 for a free estimate with a line-item written price.
Send a written notice of default by certified mail and email, with photos, a description of the failure, and a 10-day cure deadline. Stop further payments in writing. If the contractor still doesn’t respond, file a complaint with the Nevada State Contractors Board. Documenting in writing is what triggers the warranty obligation and what a successor contractor will ask to see. If you want a written re-scope of the failed work, call (833) 620-4908 for a free estimate.
Yes – any bathroom remodel that moves or adds plumbing, electrical, or mechanical work requires a permit in Whitney and the surrounding Clark County jurisdiction. Cosmetic-only work (paint, tile replacement over an existing waterproofed substrate, fixture swap of a like-for-like model) typically does not. Pulling the permit and passing the inspection is a written protection for you as the homeowner; unpermitted work can complicate a future sale and voids most manufacturer warranties. Call (833) 620-4908 for a free estimate and we’ll tell you exactly which permits your scope requires.
The Bottom Line
Most bathroom remodel problems you notice after the fact were visible during the job – to a trained eye. Cracked grout, peeling paint, slow drains, and low pressure are symptoms pointing to root causes in waterproofing, substrate, or rough-in. Learn what each symptom means, insist on a waterproofing inspection before tile goes up, and put every complaint in writing the day you notice it. In Whitney, our technicians – with up to 22 years of experience – walk homeowners through each checkpoint on the job and stand behind every project with the 365-Day Done Right Promise. The next remodel should be the one you don’t have to troubleshoot.
Ready for a free estimate? Call Bradford Remodeling Co Whitney at (833) 620-4908. Live person answers 24/7, written price before any work starts, background-checked technicians, and a signed guarantee in your hand at close.
Written by the team at Bradford Remodeling Co Whitney.