Last updated November 18, 2026








Free written scope consultation - allowances, timeline, and change-order rules on paper before a single trade is scheduled
Home Remodeling Troubleshooting: Common Problems and How to Fix Them
When a door won’t latch after a remodel, most homeowners call a carpenter. Here’s the counterintuitive part: if the house was releveled, shimmed, or had subfloor work done, framing owns that problem, not finish carpentry. In our experience across Whitney remodels, nearly every “post-project problem” traces back to a specific trade decision made during construction. The trick is knowing which trade owns which symptom. This guide gives you a symptom-to-trade responsibility map, the documentation protocol for warranty claims, and a plain-language process for escalating a dispute without burning a month on phone tag.
Quick Answer
Most home remodeling problems fall into four categories: moisture (waterproofing and flashing), movement (framing or foundation settlement), electrical rough-in (nuisance GFCI trips), and HVAC performance (duct sizing or insulation). The fix starts with identifying the responsible trade, documenting the symptom with dated photos and written notice, and enforcing the warranty term that defines “reasonable time to cure.” If your remodel was performed by a licensed contractor working from a written scope, your remedy is contractual, not a favor.
Styles & brands we work with
- Kitchen remodeling
- Bathroom remodeling
- Home additions & ADU
- Roofing
- Windows & doors
- Driveway & pavers
- Fence
Table of Contents
- The Symptom-to-Trade Responsibility Map
- Moisture Staining: Waterproofing and Flashing Failures
- Cracking Drywall at Corners: Framing or Foundation Movement
- Nuisance GFCI Trips: Electrical Rough-In Diagnosis
- Hot and Cold Rooms: HVAC Duct Sizing and Insulation
- The Documentation Protocol for Warranty Claims
- Hidden Conditions vs. Workmanship: Who Pays?
- “We’re Done, Final Payment Due”: Substantial Completion vs. Premature Closeout
- How to Escalate a Remodeling Dispute in Nevada
The Symptom-to-Trade Responsibility Map
Before you call the contractor, identify which trade the symptom belongs to. This is the single most useful diagnostic step, and it’s the one most homeowners skip. A water stain on the ceiling above a shower isn’t a tile problem – it’s a waterproofing problem. A door that won’t latch after subfloor work isn’t a lock problem – it’s a framing problem. Getting the trade right is what triggers the correct remedy and prevents the “not our department” deflection.
Here is the map we use when a Whitney client calls about a post-remodel issue:
- Moisture staining, efflorescence, or soft drywall near a wet area: Waterproofing or flashing trade (tile setter, roofer, window installer).
- Hairline cracks at drywall corners or above door frames: Framing trade or foundation movement.
- GFCI outlet tripping repeatedly: Electrical rough-in.
- One room hot in summer, cold in winter, while the rest of the house is fine: HVAC duct sizing or insulation.
- Doors that won’t latch, sheet vinyl that lifts at seams, or tile that cracks in a straight line: Subfloor or framing.
- Cabinet doors that drift out of alignment within 90 days: Cabinet install (hinge adjustment, not defect).
- Grout cracking in a straight line at a control joint: Tile installation missing a soft joint.
Three of those seven symptoms – moisture, cracking drywall, and GFCI trips – account for roughly seven in ten post-remodel complaints we field in the Whitney area. If you can name the trade, you can name the fix. If you can name the fix, you can write a specific demand instead of a vague complaint. That distinction matters when you’re enforcing a warranty. For the trade responsible for most whole-home plumbing and waterproofing decisions, see our Bathroom Remodeling in Whitney page.
Moisture Staining: Waterproofing and Flashing Failures
Moisture is the number one post-remodel call we get, and the cause is usually invisible installation work that was never inspected. Waterproofing sits behind tile, under shower pans, and inside wall cavities. Flashing sits behind siding and above windows and doors. When either is installed wrong, the stain appears months later, usually on a ceiling, baseboard, or the drywall opposite the wet wall.
Diagnosis starts with location. A stain directly below a shower pan points to the pan liner or the preslope. A stain high on a wall or on the ceiling points to flashing or a roof penetration. Efflorescence – the white powdery residue on grout or concrete – is a moisture-migration signature. None of these are finish issues. All of them require opening the assembly to inspect, which is why they’re so often deflected.
What to check, in order:
- Confirm whether the original contract specified a waterproofing membrane and what brand. If the spec was generic (“tile shower”), the waterproofing system likely wasn’t defined, which is a scope problem, not just an installation problem.
- Determine whether a pan test (flood test) was performed and documented. Reputable installers are usually required to perform one and record it.
- Isolate the moisture source with a moisture meter before anyone opens the assembly. Guessing is how waterproofing gets blamed for a flashing leak.
- Look for missing or wrong-direction lapped building paper behind siding, or missing kickout flashing at roof-to-wall intersections.
- Photograph every step of the diagnosis with a date-visible photo. You’ll need it later.
Whitney sits in a high-desert swing climate – bone-dry most of the year, then a monsoon burst that finds every gap. Exterior flashing failures that would take a season to show up in Portland show up here in one July storm. If your remodel touched exterior walls during a dryer month, that failure may not surface for months. That’s why “wait and see” is bad advice; inspect before the next rainy season, not after.
Cracking Drywall at Corners: Framing or Foundation Movement
Not every drywall crack is a foundation problem. Most aren’t. The location and shape of the crack tell you which. A hairline crack at a drywall corner is almost always a framing or drywall-fastening issue. A stair-step crack wider than a sixteenth of an inch, or one that widens over months, points to foundation settlement. Treating a framing crack with spackle is a waste of drywall mud. Treating a settlement crack as cosmetic is a much bigger mistake.
Distinguish like this:
- Hairline corner cracks, less than 1/16 inch: Drywall seam or framing fastener pattern. Common and usually cosmetic.
- Cracks that follow drywall tape lines: Taping or bedding failure, typically an installation issue.
- Diagonal cracks from a door or window corner: Frame movement. Could be settlement or could be a header problem.
- Stair-step cracks in brick or block: Foundation. Stop and get a structural evaluation.
- Cracks that widen when a door or window is open and close when it’s shut: Structural movement. Call a structural engineer.
If framing is the responsible trade, the remedy is re-securing the drywall to the studs with the right fastener and pattern, not simply re-mudding. If foundation movement is implicated, the fix is a structural evaluation, and no drywall contractor can paper over it successfully. In Whitney, we see a lot of remodels where the original slab was poured decades ago and later movement gets blamed on the recent drywall work. That’s why the contract should have defined what was inspected before the remodel started, which is a conversation we have with every client before signing.
Nuisance GFCI Trips: Electrical Rough-In Diagnosis
GFCI nuisance trips are the most misdiagnosed problem in kitchen and bath remodels. A GFCI that trips occasionally or only when a specific appliance runs is usually doing its job – it’s detecting a real ground fault somewhere in the circuit. A GFCI that trips the instant you reset it points to moisture intrusion or a wiring fault. A GFCI that trips only on a hair dryer or a specific appliance suggests the appliance itself is the fault source, not the wiring.
Do not bypass a GFCI to stop the tripping. That conversation is why we’re so direct about it: the device exists to prevent shock and fire. If it’s tripping, something is wrong.
What the homeowner can safely check, without opening a panel or touching a wire:
- Reset the GFCI, then test every appliance on the circuit one at a time. If a single appliance triggers it, that appliance is the likely fault source.
- Check for moisture at the outlet plate. A tripping GFCI near a shower or sink with a damp wall behind it is a waterproofing clue, not an electrical one.
- Note whether the trip pattern correlates with rain or with a specific plumbing fixture. Both are clues that point back to moisture intrusion.
- If the circuit serves multiple rooms or shares with a bathroom exhaust fan, ask which fixtures share it – circuit mapping is a rough-in issue, not a finish issue.
Anything past step one requires a licensed electrician. Panels, wiring, and GFCI device replacement are on the short list of jobs where DIY risk is genuinely severe – shock and fire, not inconvenience. In a Whitney remodel, the electrical rough-in should have been inspected by the local building authority; that inspection letter is one of the documents you’re entitled to when evaluating a complaint. For broader general contracting context, see our General Contractor in Whitney page.
Hot and Cold Rooms: HVAC Duct Sizing and Insulation
If one room in your remodeled home is uncomfortably hot in summer and cold in winter while the rest of the house is fine, the problem is almost always in the duct system or the insulation, not the thermostat. Common culprits: undersized ducts serving a converted space, missing duct insulation in an attic run, a duct that got crushed during framing, or a return-air path that was never planned. In a Whitney attic, where summer attic temperatures routinely top 140°F, an uninsulated duct run loses most of its cold air before it reaches the register.
The diagnosis is straightforward if you know what to check:
- Compare supply air temperature at the air handler versus at the room register. A large drop means duct loss, not a system capacity problem.
- Look for crushed or disconnected flex duct in the attic or between joists. Framing changes during remodel commonly crush runs that were fine before.
- Check the return path. A closed-door bedroom with no return-air path will always run hotter or colder than the rest of the house, no matter how good the supply is.
- Check insulation depth above the room. R-values drop fast if blown insulation was displaced during framing or drywall work.
Most of these are rough-in trade issues, not HVAC equipment failures. That distinction matters when you’re filing a warranty claim – a contractor who didn’t run the duct won’t fix it, but a contractor who framed over it owns it. Getting the trade right at the front of the call saves weeks.
The Documentation Protocol for Warranty Claims
Here’s what most homeowners get wrong: they call, they describe the problem, they wait. Then six weeks later they’re stuck because no one documented the notice. A warranty claim lives or dies on written documentation. Even the best warranty – and we mean the one-year, written-in-your-hand kind – requires you to put the claim in writing and give the contractor a real chance to cure it.
The protocol, in order:
- Write the notice. Email or hand-delivered letter, with the date on it. Describe the symptom, not the cause. “The drywall is cracked at the northeast corner of the guest bathroom, 11 inches long, first noticed March 3” is a notice. “The remodel is bad” is a complaint.
- Photograph with date visible. A dated photo establishes the timeline. A folder of undated phone photos is close to worthless in a dispute.
- State what you want. “I am requesting inspection and correction of the waterproofing under the master shower pan” is a specific ask. Vague requests get vague responses.
- Give reasonable time to cure. “Reasonable” is what a court would find reasonable, typically 30 to 45 days for a non-emergency repair. Shortening that window too aggressively can void your leverage.
- Document the response. Whether they inspect, schedule, or don’t respond, write down the date and the outcome. A no-response is very useful evidence later.
- Keep your originals. Contract, change orders, permit records, final invoice, all inspection reports. Digital copies in two places.
Every Bradford Remodeling project is covered by the 365-Day Done Right Promise – if work we completed fails within one year, we return and correct it at no charge. The protocol above is the same one we use internally, and it is faster for everyone when the homeowner follows it, not slower.
Hidden Conditions vs. Workmanship: Who Pays?
This is the distinction that decides most remodeling disputes, and it’s the one most contracts handle badly. Workmanship is what the contractor did with their hands. Hidden conditions are what was behind the wall before anyone touched it. Both can cause a failure, but only one is a warranty matter.
- Workmanship failure: The contractor installed the shower pan without a preslope. The liner is correct, the installation is wrong. Contractor responsible, full stop.
- Hidden condition: The framing behind the tile was already rotted when the crew opened the wall. If the contract required discovery notice and the notice was sent, the repair is an owner cost, not a warranty item.
- Gray area: The contractor discovered rot, didn’t document it, continued anyway, and the tile fails in eight months. That’s now a workmanship dispute because the contractor should have paused and notified.
What “hidden condition” means in practice should be defined in the contract before work begins. A well-written contract says: pre-existing conditions discovered during the work are the owner’s responsibility, in writing, with a change order and price before proceeding. Poorly written contracts leave the distinction to be argued after the failure. If your contract didn’t define this line and you’re now in a dispute, the depth of the original discovery documentation – or its absence – is what a mediator will look at.
“We’re Done, Final Payment Due”: Substantial Completion vs. Premature Closeout
One of the most common pressure tactics in the trades is closing out a job while the punch list is still open. Substantial completion means the work is usable for its intended purpose – functionally complete – with only minor items remaining. It does not mean the doors latch, the trim is caulked, and the outlets work. It means the contractor is roughly done, and the homeowner accepts the project as substantially complete.
The test is simple. Ask yourself:
- Are all fixtures and appliances installed and operational?
- Are all doors and windows operating freely, latching correctly, and finished?
- Is all trim, caulk, paint, and finish work completed and to the spec sheet?
- Have all permits been inspected and passed, with documentation?
- Have the punch list items from the final walkthrough been resolved?
If any answer is no, you are not at substantial completion. Final payment is not due. What you do owe is a written response: “I have reviewed the scope. Items X, Y, and Z remain incomplete. Final payment will be released upon completion of those items and final inspection sign-off.” That is polite, specific, and enforceable. It’s not a threat – it’s the protocol. The 365-Day Done Right Promise folds into this cleanly: at Bradford job close, you get a clean site, a documented scope, and a signed written guarantee in your hand before the final invoice is processed.
How to Escalate a Remodeling Dispute in Nevada
Most remodeling disputes resolve at the written-notice stage. If yours doesn’t, escalation has a clear sequence. Skipping a step is common and it weakens your position every time. Do them in order.
- Written demand letter. Restate the symptoms, the requested remedy, the deadline (30 days), and your intent to file a formal complaint if unresolved. Certified mail, return receipt. Keep a copy.
- Nevada State Contractors Board complaint. If the contractor is licensed in Nevada, the Board has a formal complaint process and can investigate workmanship, contract violations, and abandonment. Filing after the 30-day demand letter window has passed is standard.
- Mediation or arbitration. Check your contract – many require mediation first. Mediation is faster and cheaper than litigation for most mid-size disputes.
- Construction defect attorney. For defects above $20,000 in scope, or for structural and waterproofing failures affecting multiple rooms, an attorney who specializes in construction defect is the right call. Not every dispute needs one; most don’t.
Bradford Remodeling is a member of the Garrison Partners family, established in 2004, and operates as an independently owned business held to The Garrison Standard – which means every price is in writing before work begins, every project carries the written guarantee, and every promise is what a homeowner can rely on. Calls are answered by a live person, 24 hours a day, seven days a week. If your Whitney project is a Garrison project, escalation never reaches this stage – but if you’re in a dispute with another contractor, this sequence is the one that works.
Common Mistakes to Avoid
- Calling the finish trade first. When a door won’t latch after a whole-home remodel, calling a finish carpenter feels right. It’s wrong. If the subfloor was replaced or the frame was shimmed, framing owns that symptom, and the finish carpenter is just going to charge you for a $75 visit that ends in “not my problem.”
- Accepting a verbal warranty. A warranty that isn’t written and signed is a courtesy, not a warranty. Every project managed by Bradford carries the 365-Day Done Right Promise in writing, and every Whitney homeowner should expect the same from any contractor.
- Bypassing a tripping GFCI to “stop the noise.” We see this in Whitney regularly. The device is telling you something. Bypassing it removes the protective layer that prevents shock and fire, and the underlying fault is still there.
- Waiting for the next rainy season to check exterior flashing. Water work done in a dry month won’t show its failure for six to nine months. Inspect before the next rain, not after.
- Sending an undated text instead of a written notice. A drop in the bucket, legally. A dated email or letter is a record. A text from two weeks ago is a curiosity.
- Paying the final invoice with punch list open. Once you’ve paid, your leverage to correct punch list items drops to whatever is written in the contract. Short of the 365-day coverage, that can be very little.
- Hiring on price alone. In Whitney, the difference between a $38,000 kitchen remodel and a $52,000 one is usually documented scope, inspection records, and a written guarantee – not materials. The cheapest bid that omits those is not the cheapest bid.
See the difference
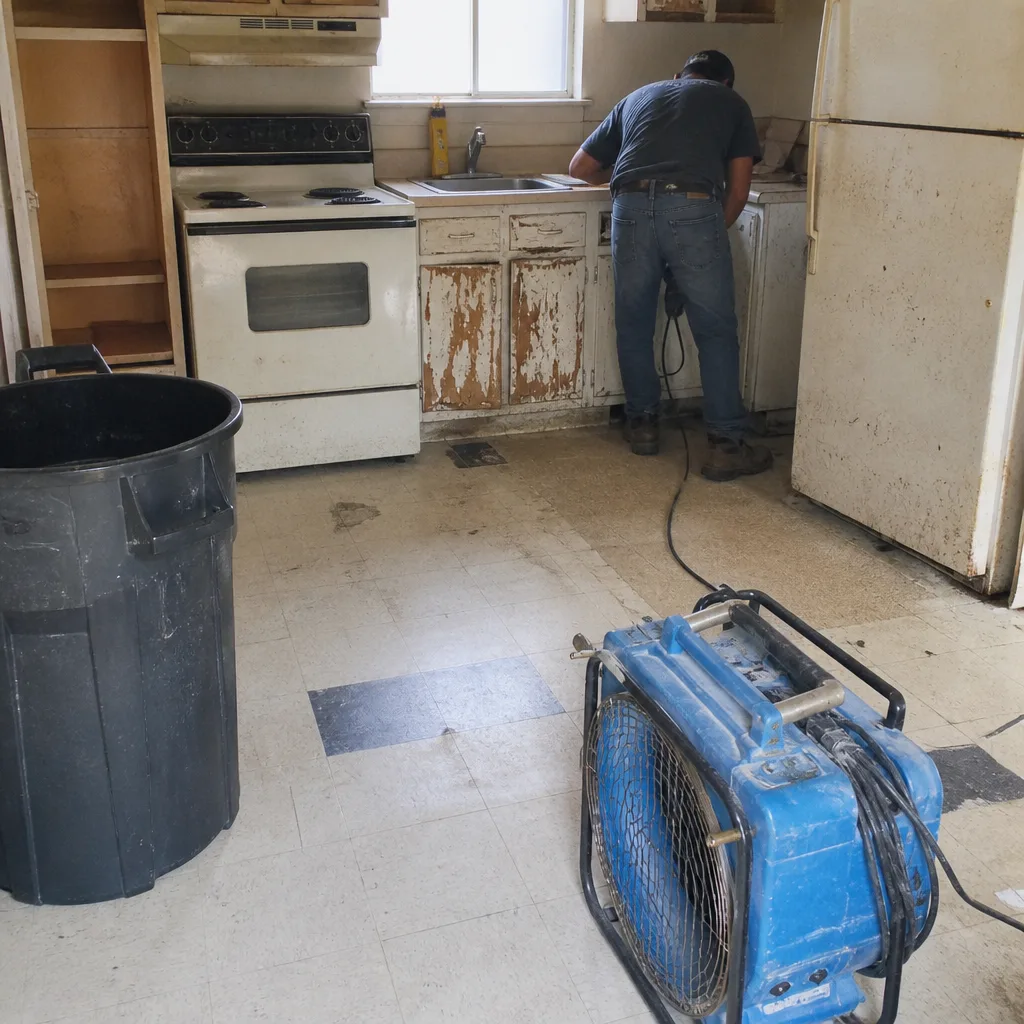 Before
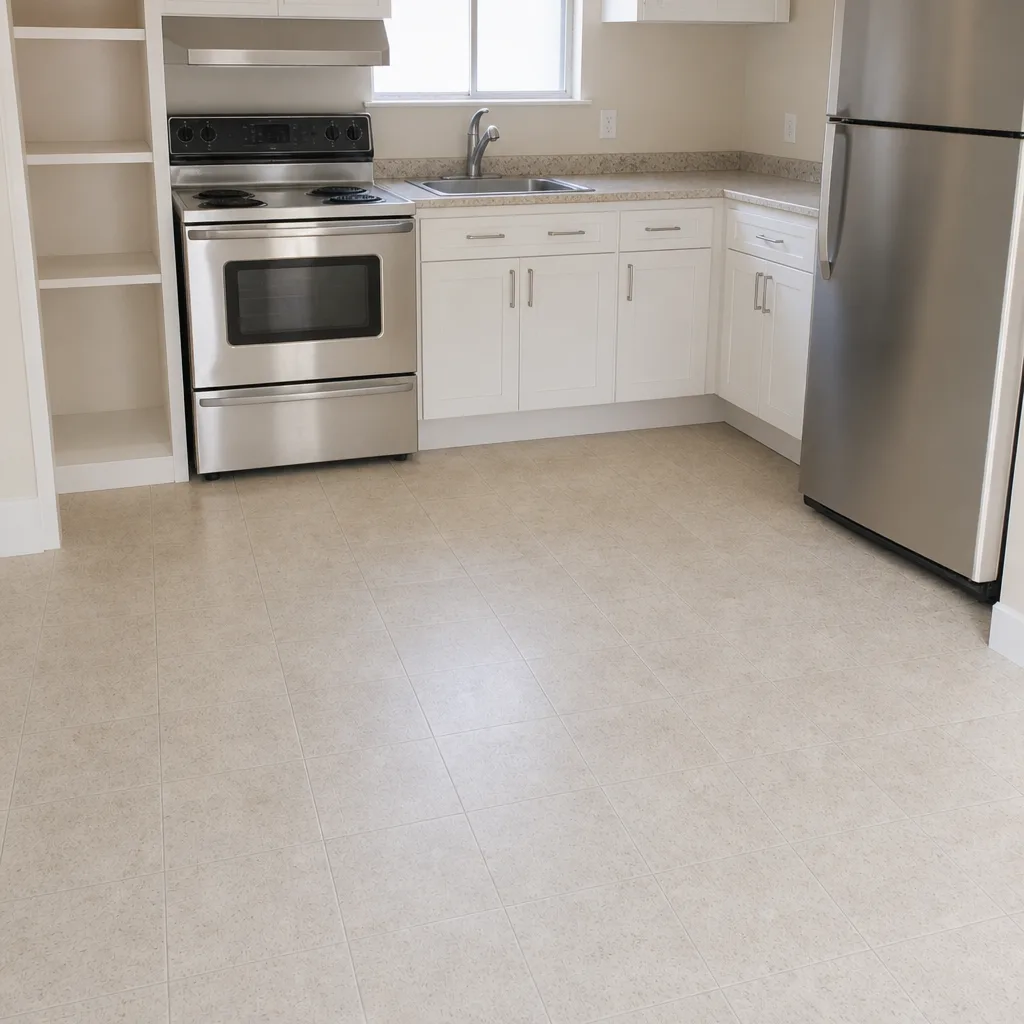 After
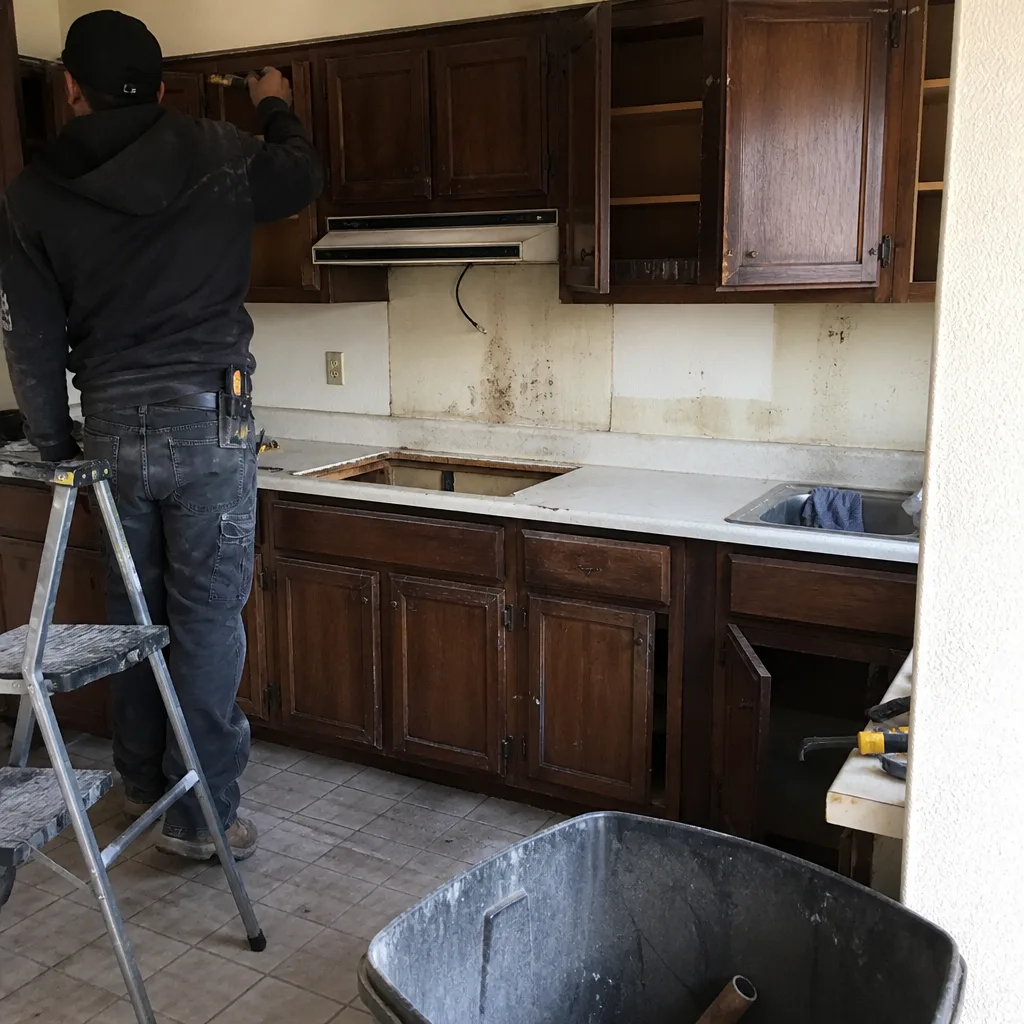 Before
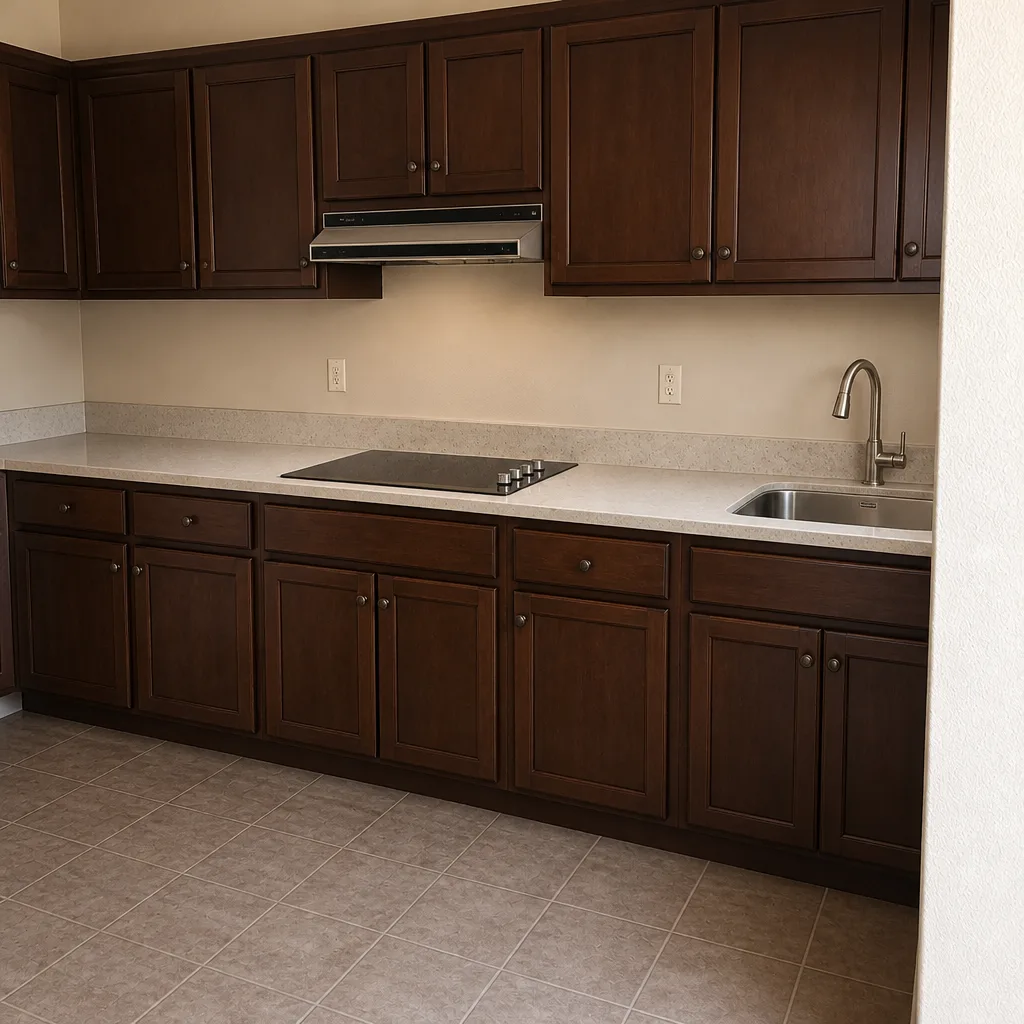 After
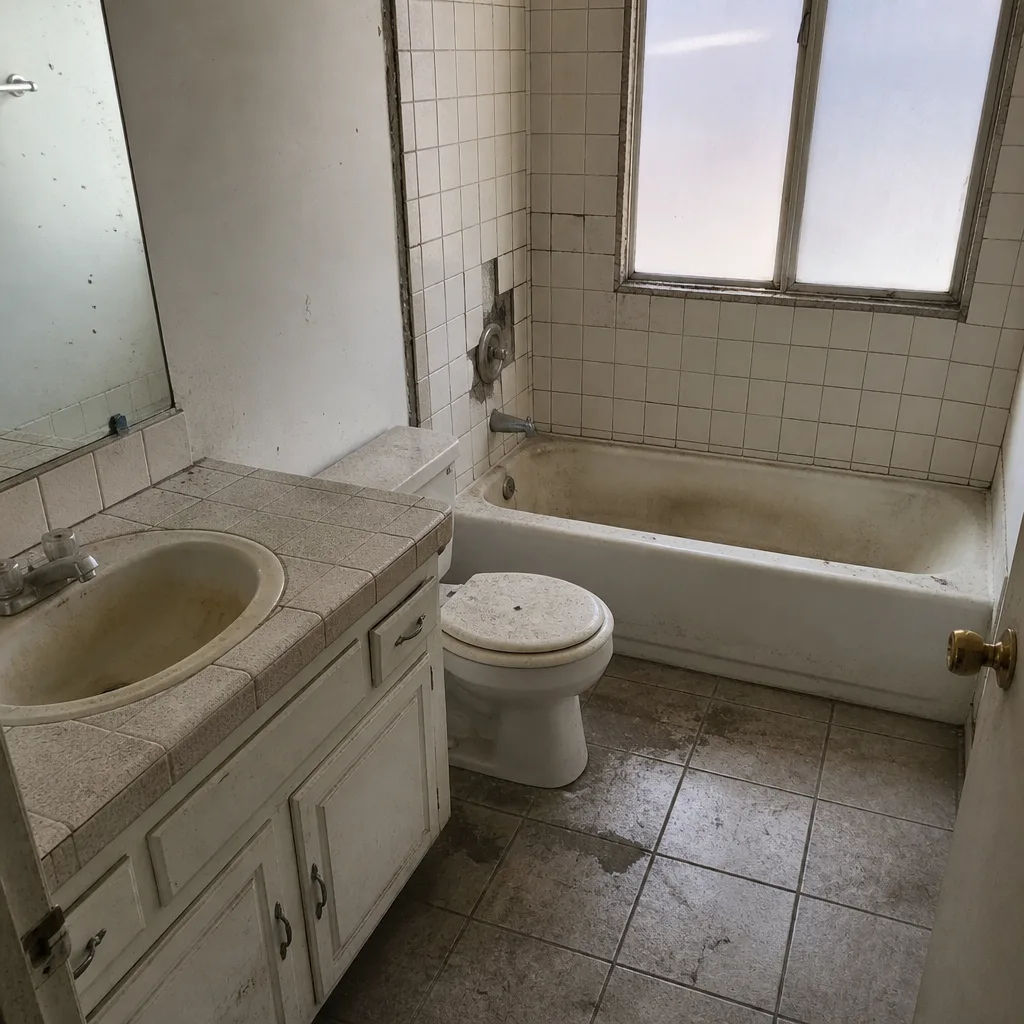 Before
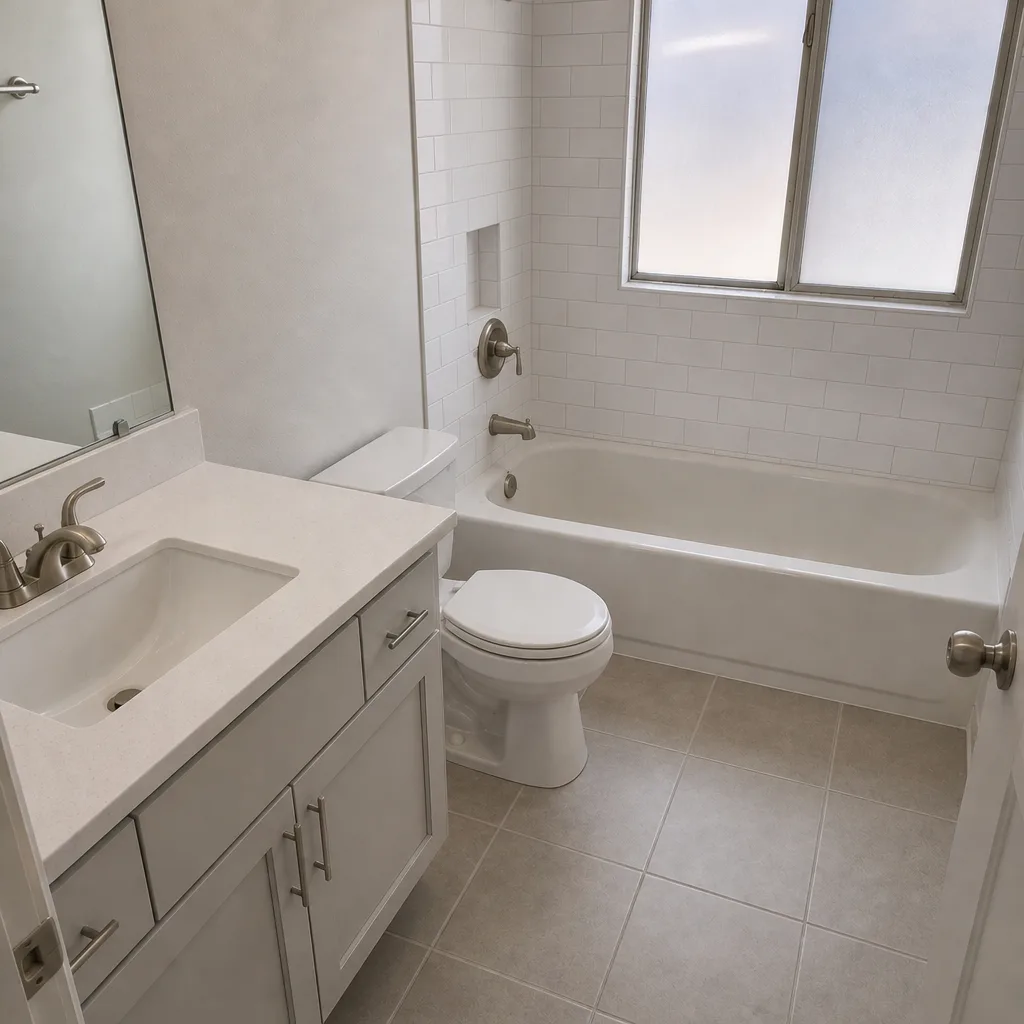 After
When to Call a Professional
Some of what’s in this guide you can diagnose yourself. Some of it you absolutely should not touch. Call a licensed professional for any symptom that involves electrical panels, wiring, GFCI replacement, gas lines, high-tension springs, or roofing at height. Call for any crack wider than a sixteenth of an inch, any moisture you can’t isolate, and any structural movement you notice. Call before you sign anything from the original contractor’s warranty process that limits your remedies – once that’s signed, your options narrow significantly. If you’re in Whitney and you’d rather have a professional look at it before you decide what’s next, Bradford Remodeling Co Whitney offers free estimates – call (833) 620-4908 to schedule yours.
For whole-home projects and the broader scope questions this guide touches, our Bradford Remodeling Co Whitney home page is a good starting point. If your symptoms trace back to the kitchen – cabinet alignment, grout cracking at a control joint, or a sink that backs up after the remodel – our Kitchen Remodeling in Whitney page covers the trade responsibilities on that side. Bradford works with a documented roster of name-brand materials – KraftMaid and Wellborn cabinetry, Cambria and Caesarstone surfaces, Kohler and Moen fixtures, James Hardie exterior products – so when a warranty claim lands on a specific brand, the spec is traceable and the fix is a manufacturer-authorized one, not a guess.
Frequently Asked Questions
Typical costs range from a $150 to $350 service call for diagnostic-only visits up to $3,500 to $8,000 for a shower pan replacement or a drywall-and-reframing repair. If the fix falls under an active written warranty, your cost is usually zero. Call (833) 620-4908 for an exact quote based on your specific symptom – estimates are free.
A workmanship warranty covers the labor and installation quality the contractor performed – the waterproofing membrane, the flashing, the framing, the tile installation. A manufacturer warranty covers the product itself – failing caulk, cracked tile, or a cabinet hinge that failed in normal use. Most post-remodel claims involve both, and the responsible party is determined by which part failed. The 365-Day Done Right Promise is a workmanship guarantee: if work we completed fails within one year, we return and correct it at no charge.
Yes, in nearly every case. Nearly all written warranties and contracts – including ours – require written notice and a reasonable time to cure, typically 30 to 45 days for non-emergency work. Skipping that step and hiring another contractor to fix it often voids your warranty claim and makes you responsible for the second invoice. Send the notice first, then act.
Yes, final payment is not due until substantial completion, which requires the work to be functionally complete and usable, with punch list items resolved. A written response listing the incomplete items and stating that final payment will be released on completion is the correct move. It protects your position and keeps the conversation professional.
The line is discovery. If the problem was behind the wall before the work started and the contractor documented it in writing with a change order, it’s a hidden condition and typically an owner cost. If the failure traces to how the trade installed the new work – waterproofing, framing, flashing – it’s a workmanship matter and the contractor is responsible. If the contractor found rot, didn’t document it, and continued anyway, that’s a workmanship dispute.
Bradford Remodeling operates as a member of the Garrison Partners family, established in 2004, and is an independently owned and operated business held to The Garrison Standard. Technicians are background-checked and uniformed, every price is written before work begins, and every completed project carries the 365-Day Done Right Promise. Call (833) 620-4908 for a free estimate in Whitney and we’ll put the scope and the price in writing before any work starts.
The Bottom Line
Most post-remodel problems aren’t random. They belong to a specific trade, and the responsible party is determined by which decision – waterproofing, framing, rough-in electrical, or HVAC – failed. Get the trade right, then document with dated written notice, specific symptoms, and a stated remedy. Give reasonable time to cure. Hold final payment until substantial completion. If the straight path doesn’t resolve it, escalate in order – demand letter, Nevada State Contractors Board, mediation, then an attorney for the big structural cases. Every step is faster when the price and the guarantee were written down before the first tool came out. That’s what The Garrison Standard is for, and it’s how we run every Bradford Remodeling project in Whitney. If you’d like a free estimate, call (833) 620-4908 – a live person answers, day or night.
Written by the team at Bradford Remodeling Co Whitney.