
Last updated November 18, 2026








Free written scope consultation - allowances, timeline, and change-order rules on paper before a single trade is scheduled
Kitchen Remodeling Maintenance Schedule: What to Do and When
That bead of silicone where your new countertop meets the backsplash is designed to flex, and in a working kitchen it will crack within 12 to 18 months. That’s not a defect. It’s a maintenance item, and whether your warranty treats it as one depends entirely on what your contract says and whether you logged the small stuff along the way. Most homeowners never get a maintenance schedule when the punch list closes out, so grout haze, cabinet hinges, and refrigerator coils go untouched until something fails and a manufacturer points to skipped service. This guide lays out the intervals, the checklist for the first 30 days, and the paper trail that keeps both your workmanship guarantee and your product warranties alive. We build kitchens in Whitney, and we’ve watched how the Nevada climate treats them.
Quick Answer
After a kitchen remodel, inspect and adjust cabinets, grout, caulk joints, and appliance connections at the 30-day mark, then repeat a short material-specific checklist every 6 to 12 months. Stone counters need resealing based on the product’s spec (often annually for porous stone), grout in wet zones needs cleaning and sealing on a schedule, and appliance service intervals like coil cleaning and filter swaps must be documented to keep installation warranties valid. Log every task with date, product used, and a photo.
Styles & brands we work with
- Kitchen remodeling
- Bathroom remodeling
- Home additions & ADU
- Roofing
- Windows & doors
- Driveway & pavers
- Fence
Table of Contents
- The First 30 Days: Post-Completion Inspection Checklist
- Cabinet Maintenance: Hinges, Hardware, and Finish Care
- Stone and Solid Surface Counters: Sealing Schedules
- Tile and Grout in High-Humidity Zones
- Appliance Intervals That Protect Installation Warranties
- Caulk Joints and What Causes Cracking
- Normal Settling vs. a Warranty Call
- How to Document Maintenance for a Warranty Claim
The First 30 Days: Post-Completion Inspection Checklist
The month after the crew leaves is when a new kitchen tells you what it needs. Cabinet doors that were aligned on install day shift as hinges seat under load. Grout releases haze. Caulk joints move with the first real cooking heat. Walk the room at day 30 with a notepad and take photos before you touch anything.
- Open and close every cabinet door and drawer. Listen for rubbing, watch for sag. Adjust hinges and drawer glides with a screwdriver until reveals are even. KraftMaid and Wellborn cabinetry both allow field adjustment within their spec.
- Check grout lines for haze and pinholes. A haze film is normal residue from installation; remove it per the manufacturer’s direction, not with an abrasive.
- Look at every caulk joint – countertop to backsplash, sink rim to counter, backsplash to wall. Press gently. Any gap that opens wider than a hairline gets recaulked now, not later.
- Verify appliance connections. Pull the fridge out once and confirm the water line for the ice maker isn’t kinked. Check that the dishwasher drain hose has no low spots that trap water.
- Test the range hood on every speed and note whether the damper opens fully. Weak exhaust in a Whitney kitchen shows up fast in summer.
- Photograph everything before and after adjustments, and log the date.
If anything on that walk looks wrong and you’re inside your guarantee window, call it in. The 365-Day Done Right Promise on every Bradford project means we come back and correct workmanship that didn’t hold – at no charge – for a full year from completion. A documented 30-day walk is often what separates a clean warranty claim from a finger-pointing match, so do it even if nothing looks off.
Cabinet Maintenance: Hinges, Hardware, and Finish Care
Cabinet finish warranties from KraftMaid and Wellborn have cleaning clauses, and most homeowners void them by reaching for the wrong bottle. Abrasive cleaners, bleach solutions, and scouring pads can dull a factory finish and, in some cases, get a claim denied. Read the care sheet that came with your cabinets, then follow it exactly.
- Wipe down with a damp cloth and mild dish soap monthly in the cook zone. Grease builds on the underside of upper cabinets and hardens into a film that’s harder to remove later.
- Check hinge screws every 6 months. Wood moves, and a loose screw backs out further once it starts. A quarter turn with a screwdriver prevents a sagging door.
- Adjust soft-close dampers once a year. They’re designed to be tuned, not replaced, when a door starts closing hard.
- Keep the cabinet interior dry. A slow leak under the sink warps particle board faster than anything else we see in Whitney homes.
- Never use steam cleaners on painted or thermofoil doors. Heat and moisture get behind the finish and cause peeling that no warranty covers.
Cabinet hardware – pulls, knobs, drawer slides – loosens on a predictable cycle. Every 12 months, go through with a Phillips head and snug every screw. It takes 20 minutes and prevents the wobbly-pull complaint that shows up two years in. If you’re still planning your kitchen rather than maintaining one, our Kitchen Remodeling in Whitney page walks through how we spec and install cabinetry from the start.
Stone and Solid Surface Counters: Sealing Schedules
Sealing is the maintenance task with the widest range of “correct” answers because it depends entirely on the stone. Cambria and Caesarstone quartz surfaces are non-porous and never need sealing. Granite and natural stone are porous and do, on a schedule set by the specific slab and the sealer used.
Here’s the practical test: put a few drops of water on an inconspicuous spot. If the water beads, the sealer is intact. If it soaks in within 10 minutes and darkens the stone, reseal. Run that test every 6 months and reseal when it fails – for most granite in a busy kitchen, that lands at once a year, sometimes twice if you cook hard and clean with water daily.
- Quartz (Cambria, Caesarstone): no sealing. Wipe with a damp cloth; avoid bleach and abrasive pads.
- Granite and natural stone: water-bead test every 6 months, reseal when the water soaks in.
- Always reseal after any deep clean that uses a degreasing product. It strips the sealer along with the grease.
- Never place a hot pan directly on any surface. Quartz can scorch and natural stone can crack from thermal shock.
Log the date and the sealer brand every time you reseal. If a stain develops later and you can show the surface was maintained to spec, you’re in a far better position with the fabricator and the manufacturer.
Tile and Grout in High-Humidity Zones
Kitchen backsplashes and any tiled floor see more humidity than the rest of the room, and grout is where it collects. Whitney runs hot and dry in summer, which means the air pulls moisture out of grout quickly – that’s good for drying but hard on grout that isn’t sealed, because the expansion and contraction is constant. A sealed grout line handles the cycles; an unsealed one starts to pit and stain.
- Evaluate the sealer at 6 months. Sprinkle water on the backsplash grout. If it beads, the sealer is working. If it wicks in, reseal.
- Reseal grout in the kitchen once a year in high-use areas, up to 18 months in low-traffic zones.
- Clean grout with a pH-neutral cleaner. Vinegar and acidic cleaners eat cementitious grout over time – they look like they work, then the grout starts to erode.
- Re-caulk the backsplash-to-counter joint with a flexible silicone caulk whenever it cracks, not with grout. That joint moves; grout doesn’t.
- Fix a single loose or cracked tile early. Water gets behind it and spreads, and one cracked tile becomes five.
If you have tile in the kitchen and any upcoming bathroom work, Bathroom Remodeling in Whitney covers the wet-zone waterproofing specs – Schluter systems included – that make grout maintenance far less of a chore.
Appliance Intervals That Protect Installation Warranties
Installation warranties on built-in appliances often carry service clauses, and manufacturers will ask for maintenance records if a repair claim looks like neglect. The intervals below are the ones we emphasize to Whitney homeowners because they’re the ones most often skipped.
- Refrigerator coils: clean every 6 to 12 months. Dust on the coils makes the compressor work harder and shortens its life. In a Whitney kitchen with pets, lean toward 6.
- Dishwasher filter: rinse monthly, deep-clean quarterly. A clogged filter leads to poor wash performance and, eventually, water sitting where it shouldn’t.
- Range hood grease filter: degrease every 1 to 3 months depending on how much you cook. A saturated filter cuts exhaust efficiency and, on a gas range, lets combustion byproducts linger.
- Ice maker water filter: replace every 6 months or per the appliance spec. A water line with a spent filter can grow bacteria.
- Garbage disposal: run cold water for 15 seconds after each use and grind ice and citrus peel monthly to keep blades clean.
Kohler and Moen fixtures in the kitchen – faucets, sprayers, soap dispensers – benefit from an annual cartridge check. If the faucet starts to drip or the sprayer loses pressure, that’s a wear item, not a defect, and it’s covered by the fixture manufacturer’s parts warranty. Keep the spec sheet that came with your install, and a note of what you’ve done, on file.
Caulk Joints and What Causes Cracking
Caulk is the single most misunderstood item in a new kitchen. It’s a wear part, and it’s designed to move with the surfaces it bridges. The countertop expands and contracts slightly with heat; the backsplash doesn’t move at all. The material between them has to absorb that difference, and over 12 to 18 months in a working kitchen it eventually loses elasticity and cracks. That’s not a defect in the installation, it’s how caulk behaves.
- Inspect caulk joints every 6 months, especially around the sink where water sits constantly.
- Recaulk with 100% silicone, not acrylic caulk, on any surface that sees water or heat. Silicone flexes; acrylic dries brittle.
- Don’t caulk over old caulk. Remove the old bead completely, clean and dry the joint, then apply fresh.
- Expect to recaulk the counter-to-backsplash joint once a year in a hard-working kitchen. Budget for it as normal.
The key question is what your contract and your 365-Day Done Right Promise cover. Our written guarantee covers workmanship that fails – installation defects, water intrusion behind a bad seal, tile that lifts – not wear items like caulk that the manufacturer specifies as serviceable. That distinction is spelled out in writing before any work begins, so nobody is surprised at year two. Every price and every guarantee term lands in writing first. That’s The Garrison Standard, and it’s the reason a homeowner can point to a document when a caulk joint needs attention.
Normal Settling vs. a Warranty Call
New kitchens settle. Floors and walls move fractionally as the structure adjusts to new loads and new materials. Knowing the visible signs of normal settling versus real failure is what decides whether to pick up a call or pick up a phone.
Normal settling – maintain, don’t call:
- A hairline crack in caulk at the counter or backsplash
- Cabinet doors that need a minor hinge adjustment
- Grout haze or a slightly uneven grout line in the first 30 days
- Small cracks at a painted seam where two materials meet
Warranty call indicators – document and call:
- A tile that lifts or sounds hollow when tapped
- Water staining on a cabinet under the sink or behind the dishwasher
- A cabinet box separating from the wall or a drawer that pulls off its track repeatedly
- Grout crumbling out of a joint in one area (not haze)
- A countertop joint or seam that widens beyond a hairline
- Soft or spongy flooring in front of the sink or range
If you’re inside the guarantee window and see any of the second list, call before you try to fix it yourself. Attempting a repair can void the workmanship coverage, and our crew can document the condition properly when they arrive. That’s part of what a written guarantee delivers: a clear line between “expected” and “we’ll be right back out.”
How to Document Maintenance for a Warranty Claim
This is the part nobody tells you, so we will. Warranty claims – both workmanship and manufacturer – get decided on evidence. A homeowner with a written, dated, photographed maintenance log wins arguments that a homeowner with a verbal memory does not.
- Log the date and the task. “2026-03-14: Resealed grout in backsplash, used [brand] sealer.”
- Note the product used, with the exact name and version. A reseal with the wrong product can, in some cases, void a stone or tile warranty. Keep the bottle or a photo of the label.
- Take a photo before and after every task. Timestamped phone photos are enough.
- Store everything in one folder. Physical or a shared cloud folder. Include the manufacturer spec sheets, care instructions, and warranty cards that came with the install.
- Note any visible concerns even if you don’t act on them. “Noticed a widened seam at the island countertop, monitoring” – that log entry is what proves you didn’t ignore it.
Do this for the whole first year at minimum, and it becomes the reason the 365-Day Done Right Promise is easy to honor. When we come back, we know what happened, when, and with what. Our technicians have up to 22 years of experience, and they’ll tell you the same thing: most warranty disputes get decided on paperwork, not workmanship.
Common Mistakes to Avoid
- Treating caulk failures as installation defects. In a Whitney kitchen, that silicone joint will crack in 12 to 18 months. Know whether your contract calls it a wear item or covered work, and budget for a recaulk.
- Using abrasive cleaners on quartz and cabinet finishes. Bleach and scouring pads can void manufacturer finish warranties on Cambria surfaces and on KraftMaid or Wellborn doors.
- Skipping the 30-day inspection. Hinge adjustments and grout haze are far easier to handle inside the warranty window than after.
- Cleaning grout with vinegar or acidic products. They look like they work, then erode cementitious grout over 18 months and cause staining.
- Never cleaning refrigerator coils. In a Whitney home, dust and pet hair on the coils cut compressor life, and that’s not a covered failure – it’s neglect.
- Failing to keep the manufacturer spec sheets. Every warranty claim, from Kohler fixtures to Cambria counters, asks for documentation you probably threw away at close.
- Attempting repairs yourself during the first year. Even a small DIY fix can complicate a workmanship claim and make the warranty conversation harder than it needs to be.
See the difference
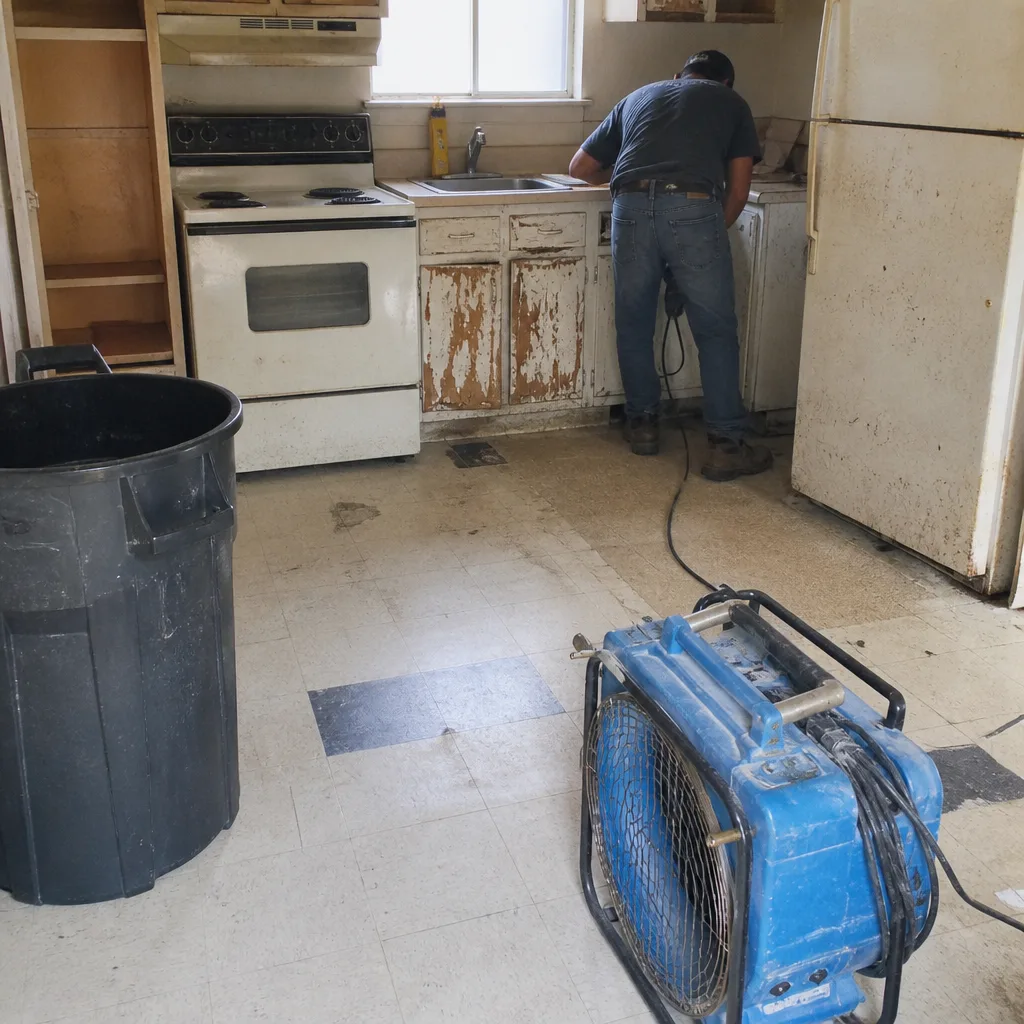 Before
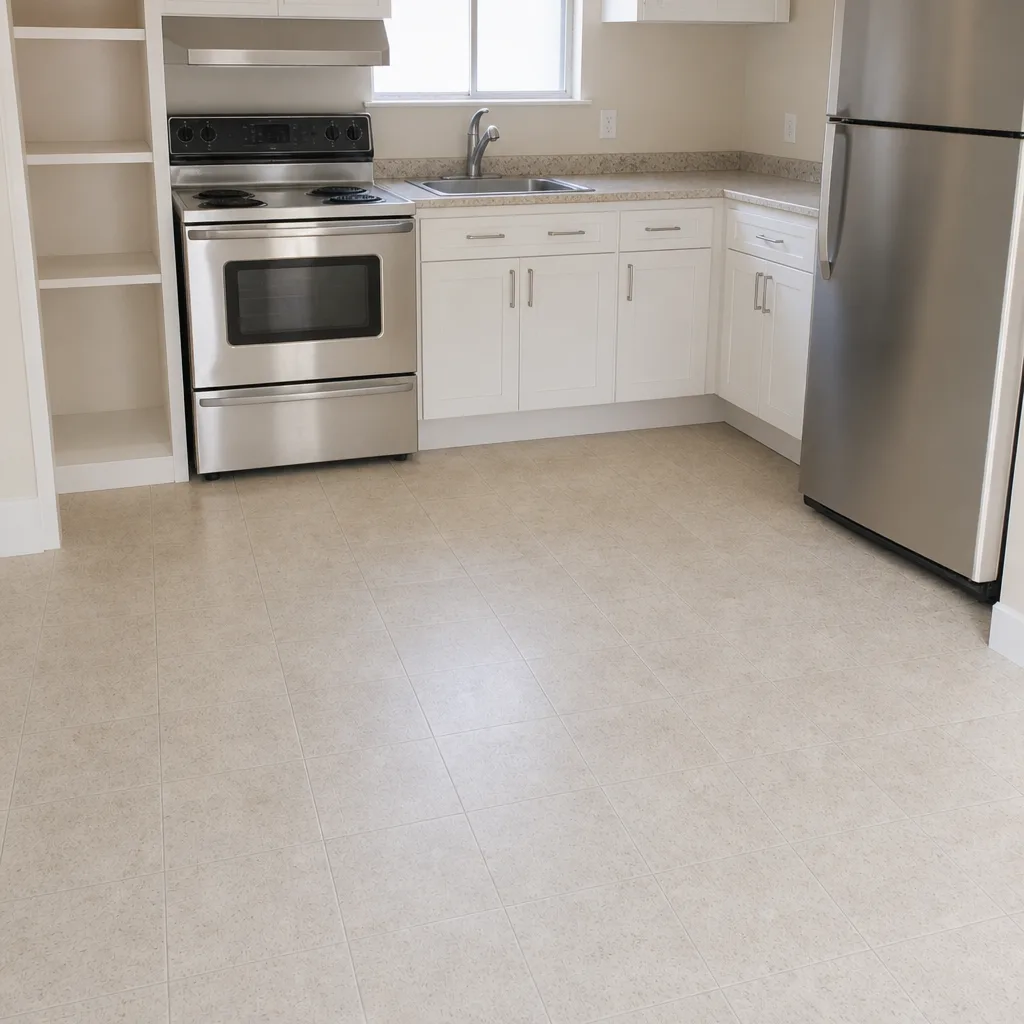 After
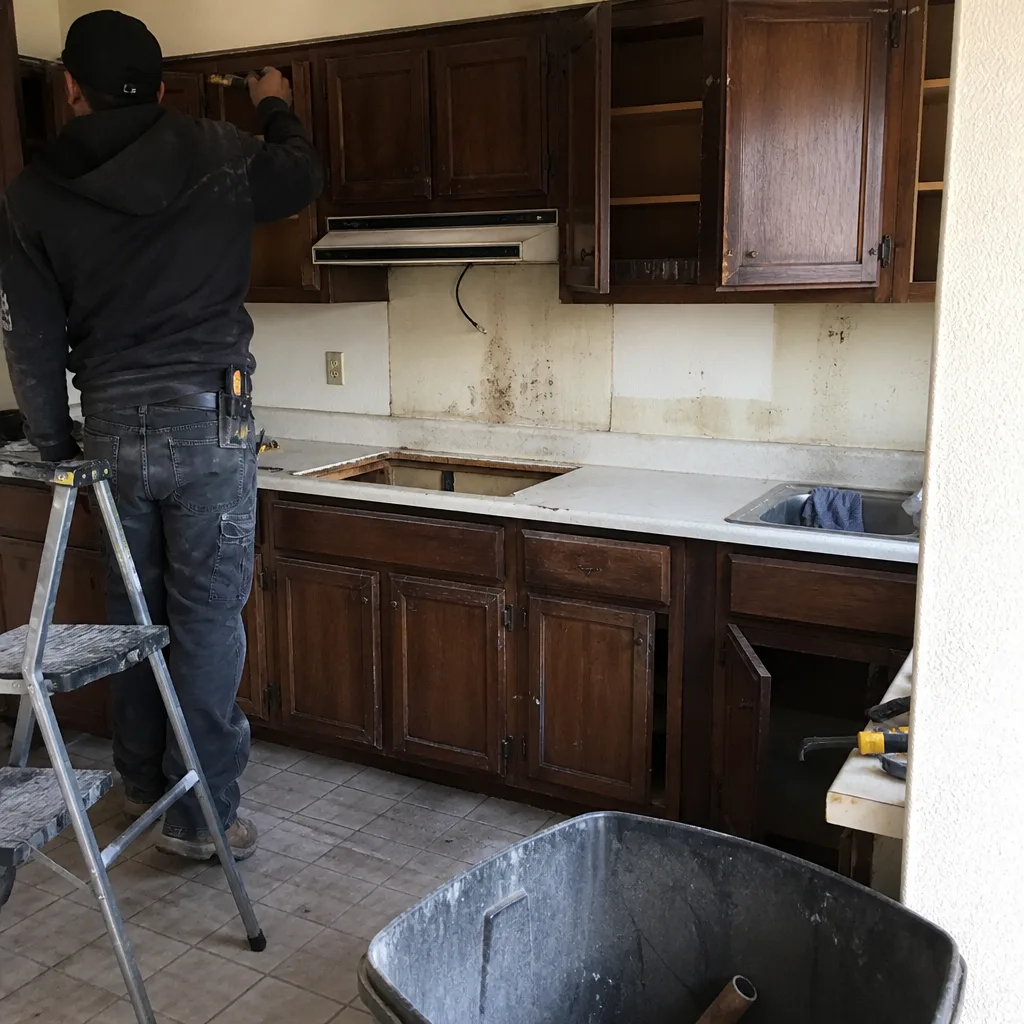 Before
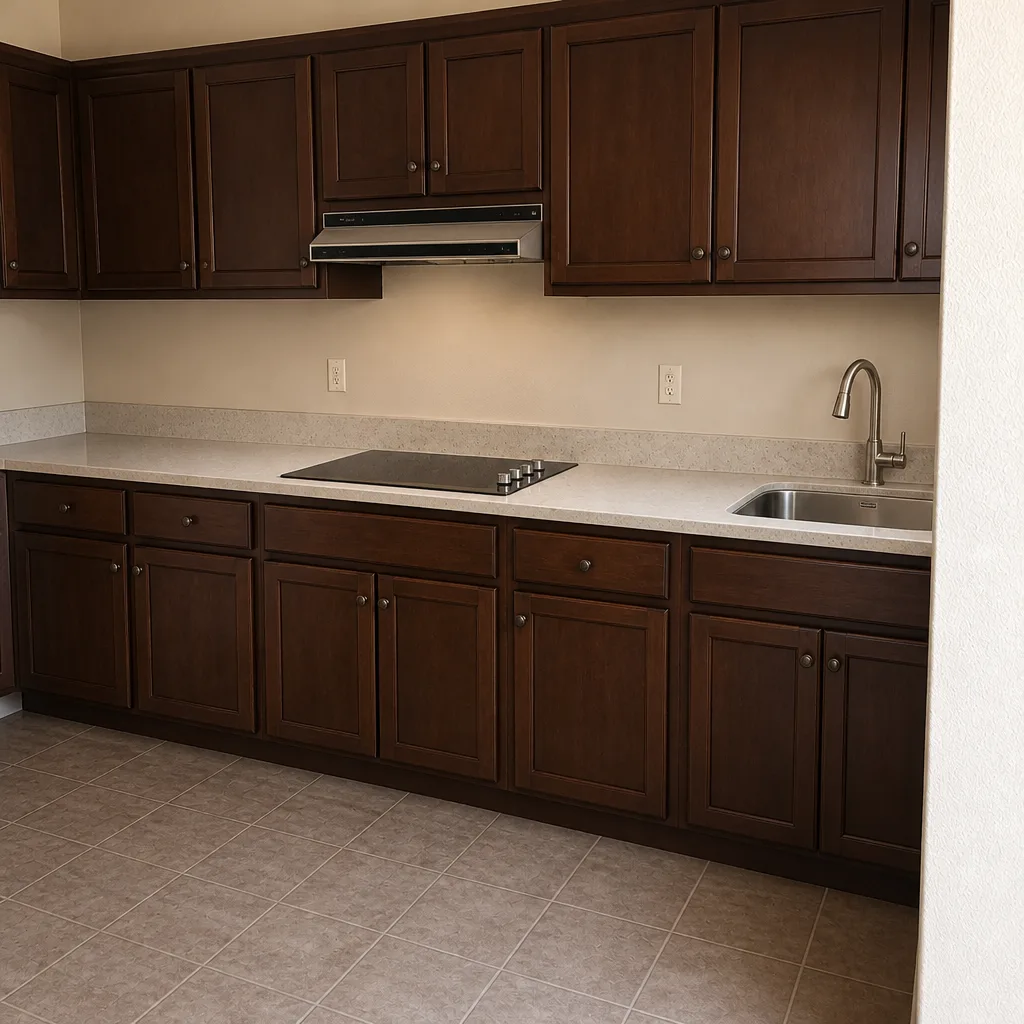 After
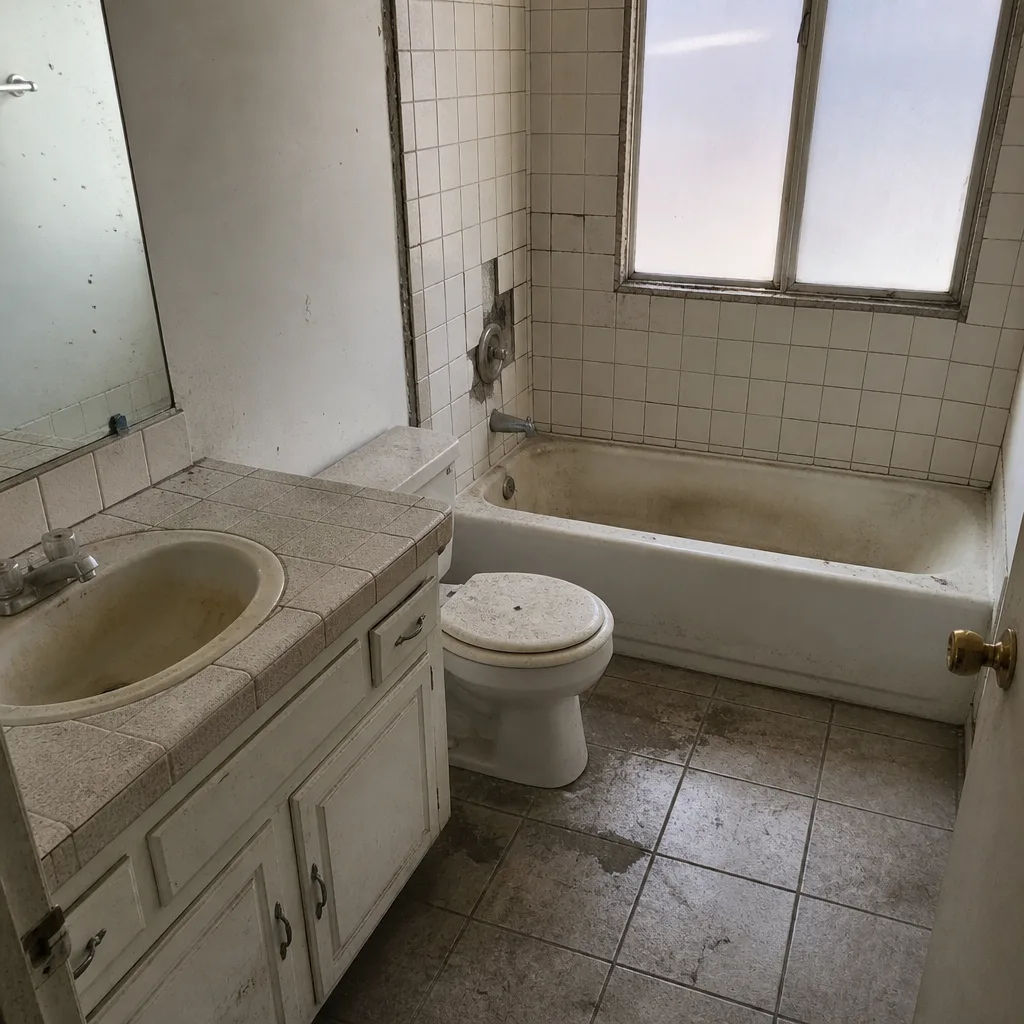 Before
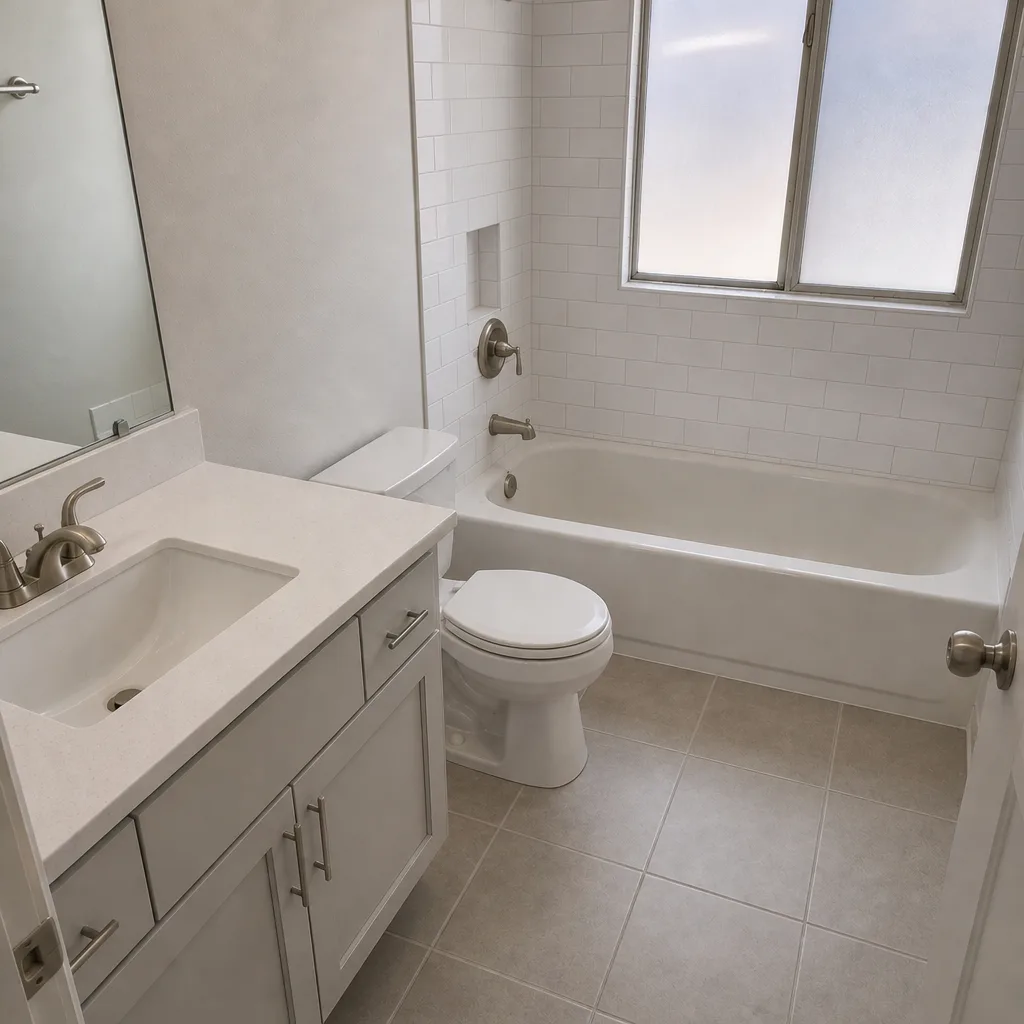 After
When to Call a Professional
Call a professional – and in Whitney, call us at (833) 620-4908 – for any of these: water staining or soft substrate behind a cabinet or under a sink; a tile that lifts or sounds hollow when tapped; a countertop seam that’s widening; a cabinet that repeatedly pulls out of a wall; or any condition inside your workmanship guarantee window that you’re unsure is normal. Those situations get better with a trained set of hands on them faster than they get better with a bottle of cleaner. Bradford Remodeling Co Whitney offers free estimates in Whitney, and every project we take on gets a written price before work starts, no exceptions. If a maintenance review reveals something we should have squared away the first time, our 365-Day Done Right Promise brings us back at no charge within the year.
Frequently Asked Questions

Run the water-bead test every 6 months, and reseal natural stone like granite when water soaks in – most granite kitchens need it once a year, sometimes twice in heavy-use homes. Cambria and Caesarstone quartz never need sealing because they’re non-porous. Log the date and the sealer used each time. Call (833) 620-4908 if you’re not sure whether your surface has failed or just needs a reseal.
Usually not as a workmanship defect – caulk is a wear item with a service life in a working kitchen, and most manufacturer specs and contracts treat it that way. It’s normal. Recaulk with 100% silicone and note the date in your maintenance log. If you want a written confirmation of what your specific guarantee covers, our written guarantee terms spell it out before work starts. Estimates and warranty reviews are free.
Yes, and it’s one of the most commonly skipped tasks. Coil cleaning every 6 to 12 months is a documented service interval for most refrigerators, and a compressor failure in a neglected unit is often denied. In a Whitney home with pets, do it closer to every 6 months. Log the date and put a photo in your kitchen maintenance folder.
Normal settling is hairline cracks in caulk, minor hinge adjustments, and grout haze in the first month. Real problems are lifted tiles, water staining behind cabinets, widening counter seams, and drawers that won’t stay on their tracks. If you see any of the second list, stop and call (833) 620-4908 – a trained eye can tell the difference in five minutes, and it’s free to have us look.
Our written guarantee covers workmanship that fails within a year of completion – installation defects, water intrusion, lifted tile, structural separation – and we come back at no charge. Wear items like caulk and cleaning are specified separately in writing. That distinction is what makes the guarantee trustworthy. We put every price and every guarantee term in writing before a tool comes out.
Kitchen humidity comes in bursts (cooking, dishwasher cycles) and dries fast; bathroom humidity stays in the air much longer, so grout and caulk in wet zones need more frequent attention there. Kitchen maintenance focuses on cabinet hardware, counters, and appliance service. If you’re planning bathroom work, our Bathroom Remodeling in Whitney page covers the wet-zone specs. Call (833) 620-4908 for a free estimate.
The Bottom Line
A kitchen remodel is a long-term relationship with your finishes, not a one-time purchase. The 30-day walk catches the small stuff. The annual cycle – cabinet hardware, stone sealing, grout resealing, appliance service, caulk inspection – keeps the room performing. And a documented log with dates, products, and photos is what makes both your workmanship guarantee and your manufacturer warranties real tools instead of paper. That’s how we run every project at Bradford Remodeling Co Whitney: written price before work starts, squared-away close at the end, and a full 365-Day Done Right Promise behind it. Whitney homeowners deserve a straight number and a clean paper trail – not a surprise at year two. If your 30-day walk comes up short, or you’re still planning the kitchen, see our General Contractor in Whitney page or start at our Bradford Remodeling Co Whitney home.
Ready to Get Your Kitchen Squared Away?

Call (833) 620-4908 to schedule your free estimate. A live person answers the phone, 24 hours a day, 7 days a week – not a voicemail, not a callback queue. We work from a documented roster of name-brand materials, from KraftMaid and Wellborn cabinetry to Cambria and Caesarstone surfaces, Delta and Kohler fixtures, so every spec is traceable and every warranty is backed by the manufacturer. Every project starts with a written price and ends with a signed written guarantee in your hand. If the work fails inside the 365-Day Done Right Promise window, we come back and correct it at no charge. No surprise invoices. No unfinished work. Just a disciplined crew and a kitchen that holds up.
Written by the team at Bradford Remodeling Co Whitney.